Unlocking Android on Windows: A Guide to Bluestacks 4 for Windows 10 64-bit
Related Articles: Unlocking Android on Windows: A Guide to Bluestacks 4 for Windows 10 64-bit
Introduction
In this auspicious occasion, we are delighted to delve into the intriguing topic related to Unlocking Android on Windows: A Guide to Bluestacks 4 for Windows 10 64-bit. Let’s weave interesting information and offer fresh perspectives to the readers.
Table of Content
Unlocking Android on Windows: A Guide to Bluestacks 4 for Windows 10 64-bit
The world of Android gaming and applications has expanded significantly, attracting users across diverse platforms. For Windows users, particularly those on 64-bit Windows 10 systems, Bluestacks 4 provides a seamless bridge to this vibrant ecosystem. This comprehensive guide delves into the intricacies of Bluestacks 4, its installation process, advantages, and potential challenges, equipping users with the knowledge to confidently navigate this powerful Android emulator.
Understanding Bluestacks 4: A Gateway to Android
Bluestacks 4 is an Android emulator, essentially a software program that enables Windows users to run Android applications and games directly on their computers. It functions by creating a virtualized Android environment within the Windows operating system, allowing access to the vast Android app library without requiring a physical Android device.
Why Choose Bluestacks 4?
Bluestacks 4 has become a preferred choice for various reasons:
- Accessibility: It offers a user-friendly interface, making it accessible even for individuals with limited technical expertise.
- Performance: Bluestacks 4 is designed to deliver a smooth and efficient experience, even for resource-intensive games and applications. It leverages the power of your Windows 10 64-bit system, ensuring optimal performance.
- Customization: Users can tailor the emulator’s settings to match their preferences, including resolution, graphics settings, and keyboard mapping.
- Extensive App Compatibility: Bluestacks 4 boasts a wide compatibility range, supporting a vast library of Android applications and games.
- Regular Updates: Bluestacks regularly releases updates to enhance performance, introduce new features, and address compatibility issues.
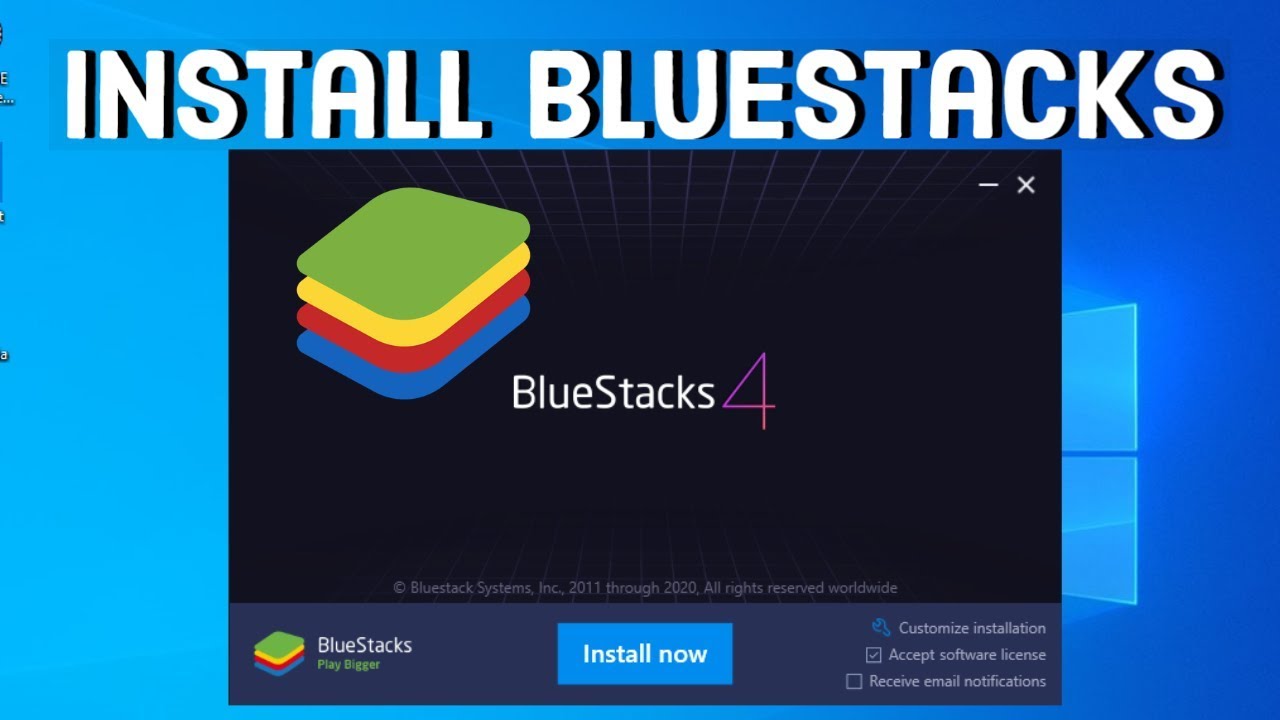
The Installation Process: A Step-by-Step Guide
- Download the Installer: Visit the official Bluestacks website and download the installer file for Windows 10 64-bit. Ensure you download the correct version compatible with your system architecture.
- Run the Installer: Locate the downloaded installer file and double-click it to initiate the installation process. Follow the on-screen prompts, accepting the terms and conditions.
- Installation: The installer will download and install the necessary files. This process may take some time depending on your internet connection speed and system specifications.
- Launch Bluestacks: Once the installation is complete, launch Bluestacks 4 from your desktop or Start menu.
- Google Account Setup: Upon launching, you will be prompted to sign in with your Google account. This step is crucial for accessing the Play Store and downloading applications.
- Explore and Enjoy: After logging in, you can access the Play Store and browse the extensive library of Android applications and games. Install your desired apps and start using them on your Windows 10 computer.
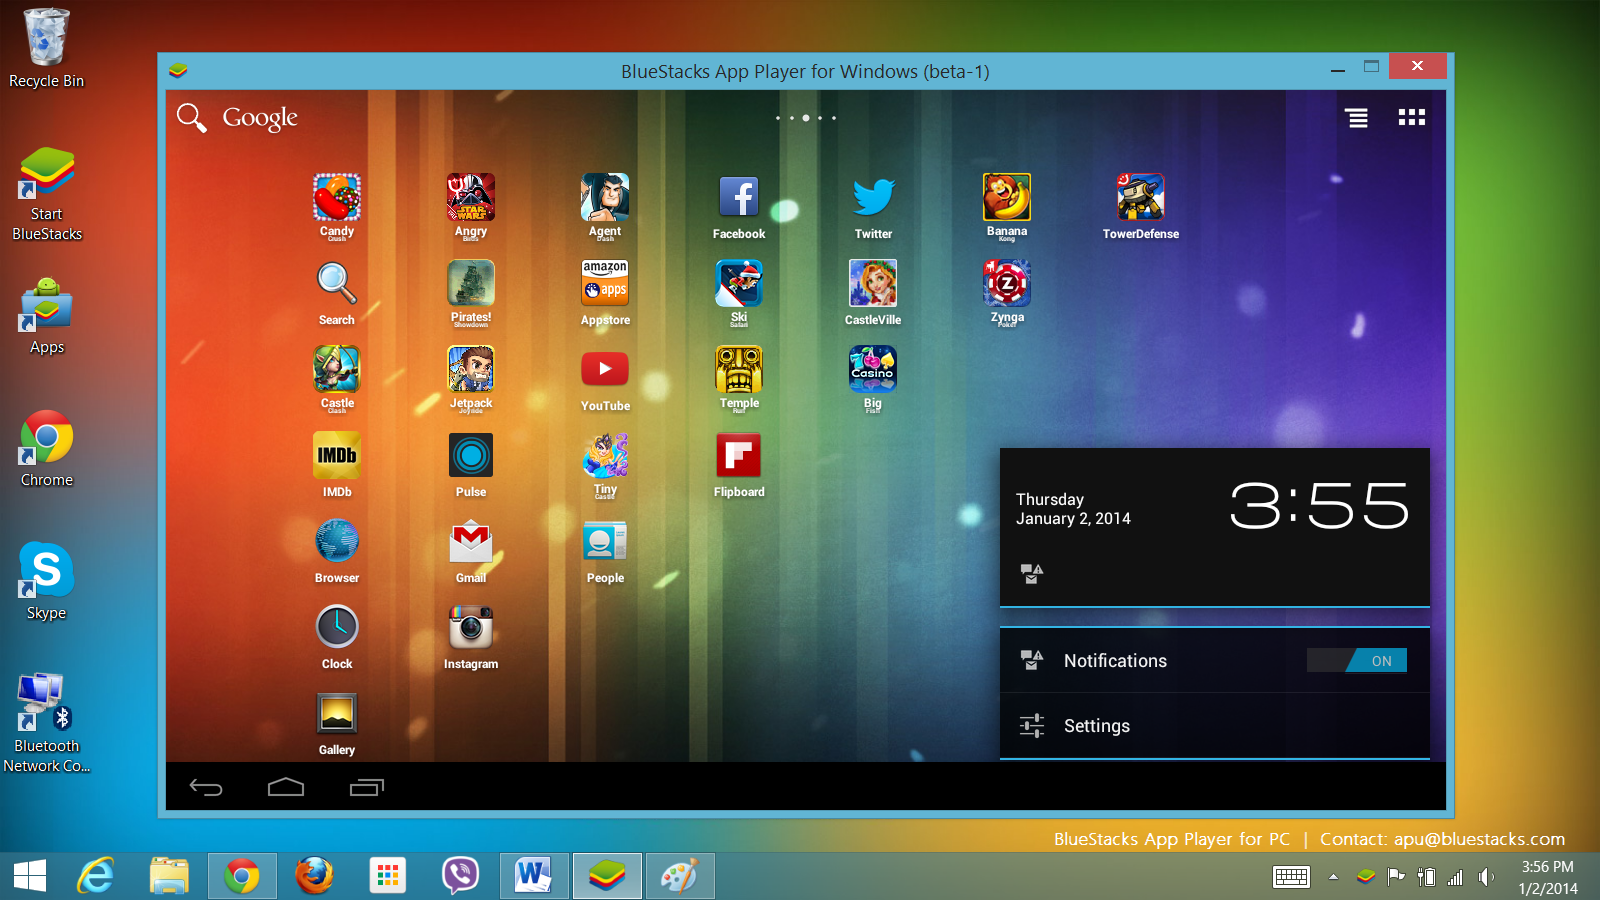
Navigating the Bluestacks 4 Interface
The Bluestacks 4 interface is designed to be intuitive and user-friendly. It features a familiar Android layout with the following key elements:
- Home Screen: The main screen where you can access installed applications and widgets.
- App Drawer: A list of all installed applications.
- Play Store: The primary source for downloading Android applications and games.
- Notification Bar: Displays notifications from installed applications.
- Settings: Allows you to customize Bluestacks 4 settings, including performance, graphics, and keyboard mapping.
Optimizing Bluestacks 4 Performance
To ensure optimal performance, consider these recommendations:
- System Requirements: Ensure your Windows 10 64-bit system meets the minimum system requirements for Bluestacks 4.
- RAM Allocation: Allocate sufficient RAM to Bluestacks 4 through its settings to avoid performance bottlenecks.
- Graphics Settings: Adjust graphics settings within Bluestacks 4 to balance performance and visual quality.
- Background Applications: Close unnecessary background applications on your Windows system to free up resources for Bluestacks 4.
- Regular Updates: Keep Bluestacks 4 updated to benefit from performance enhancements and bug fixes.
Addressing Potential Challenges
While Bluestacks 4 offers a seamless experience, users may encounter occasional challenges:
- Compatibility Issues: Some Android applications and games may not be fully compatible with Bluestacks 4.
- Performance Issues: Performance may be affected by factors such as insufficient RAM, outdated drivers, or background applications.
- System Resource Consumption: Bluestacks 4 can consume significant system resources, potentially impacting the performance of other applications.
Frequently Asked Questions
Q: Is Bluestacks 4 free to use?
A: Yes, Bluestacks 4 is free to download and use. However, it offers an optional premium subscription with additional features and benefits.
Q: Can I use Bluestacks 4 on a 32-bit Windows 10 system?
A: Bluestacks 4 is primarily designed for 64-bit systems. While it may technically run on 32-bit systems, performance may be significantly affected.
Q: Can I play Android games using a gamepad with Bluestacks 4?
A: Yes, Bluestacks 4 supports gamepad connectivity. You can configure keyboard mapping for gamepad controls within the emulator settings.
Q: Can I run multiple instances of Bluestacks 4 simultaneously?
A: Yes, Bluestacks 4 allows you to run multiple instances of the emulator simultaneously. This feature is particularly useful for testing applications or playing games with multiple accounts.
Tips for Enhancing Your Bluestacks 4 Experience
- Keyboard Mapping: Customize keyboard mappings for specific applications or games for improved control and efficiency.
- Performance Mode: Optimize performance by selecting the appropriate performance mode within Bluestacks 4 settings.
- Graphics Settings: Adjust graphics settings to balance performance and visual quality.
- Root Access: Consider rooting Bluestacks 4 for advanced customization and access to restricted features.
Conclusion
Bluestacks 4 empowers Windows 10 64-bit users to seamlessly access the world of Android applications and games. Its user-friendly interface, performance optimization, and extensive compatibility make it a powerful tool for developers, gamers, and anyone seeking to expand their digital experience. By understanding its features, installation process, and potential challenges, users can confidently leverage Bluestacks 4 to unlock the full potential of Android on their Windows computers.


![[GUIDE] How to Download Bluestacks for Windows 10 (Install) - YouTube](https://i.ytimg.com/vi/7JkJ6FwiBzI/maxresdefault.jpg)
Closure
Thus, we hope this article has provided valuable insights into Unlocking Android on Windows: A Guide to Bluestacks 4 for Windows 10 64-bit. We appreciate your attention to our article. See you in our next article!