Safeguarding Your Digital World: Creating a Recovery Drive for Windows 11
Related Articles: Safeguarding Your Digital World: Creating a Recovery Drive for Windows 11
Introduction
With great pleasure, we will explore the intriguing topic related to Safeguarding Your Digital World: Creating a Recovery Drive for Windows 11. Let’s weave interesting information and offer fresh perspectives to the readers.
Table of Content
Safeguarding Your Digital World: Creating a Recovery Drive for Windows 11

In the digital realm, unforeseen circumstances can arise, ranging from accidental data deletion to system crashes. These events can lead to significant data loss and system instability, potentially disrupting workflows and personal lives. To mitigate these risks, Windows 11 offers a robust solution: the recovery drive.
This article delves into the intricacies of creating a recovery drive for Windows 11, outlining its importance and benefits, providing a step-by-step guide, and addressing common questions.
The Significance of a Recovery Drive
A recovery drive serves as a digital lifeline, allowing users to restore their Windows 11 system to a functional state in the event of a critical failure. It acts as a backup for essential system files, drivers, and settings, ensuring a smooth recovery process.
Benefits of Creating a Recovery Drive
-
System Restoration: In case of system crashes, malware infections, or accidental data deletion, a recovery drive enables users to restore their Windows 11 installation to a previous working state, minimizing data loss and system downtime.
-
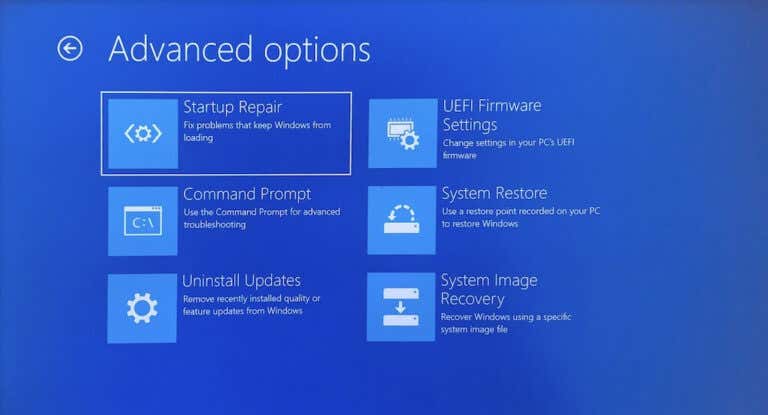
Troubleshooting: The recovery drive provides access to advanced troubleshooting tools, allowing users to diagnose and fix system issues without reinstalling Windows.
-
Clean Installation: If a complete system reset is necessary, a recovery drive simplifies the process by allowing users to perform a clean installation of Windows 11 without needing an installation media.
-
Data Backup: While not a primary data backup solution, the recovery drive can include a copy of user files, providing an additional layer of protection against data loss.
Creating a Recovery Drive: A Step-by-Step Guide
-
Prepare a USB Drive: Ensure the USB drive is at least 16GB in size and formatted as NTFS. Back up any existing data on the USB drive, as the process will erase its contents.
-
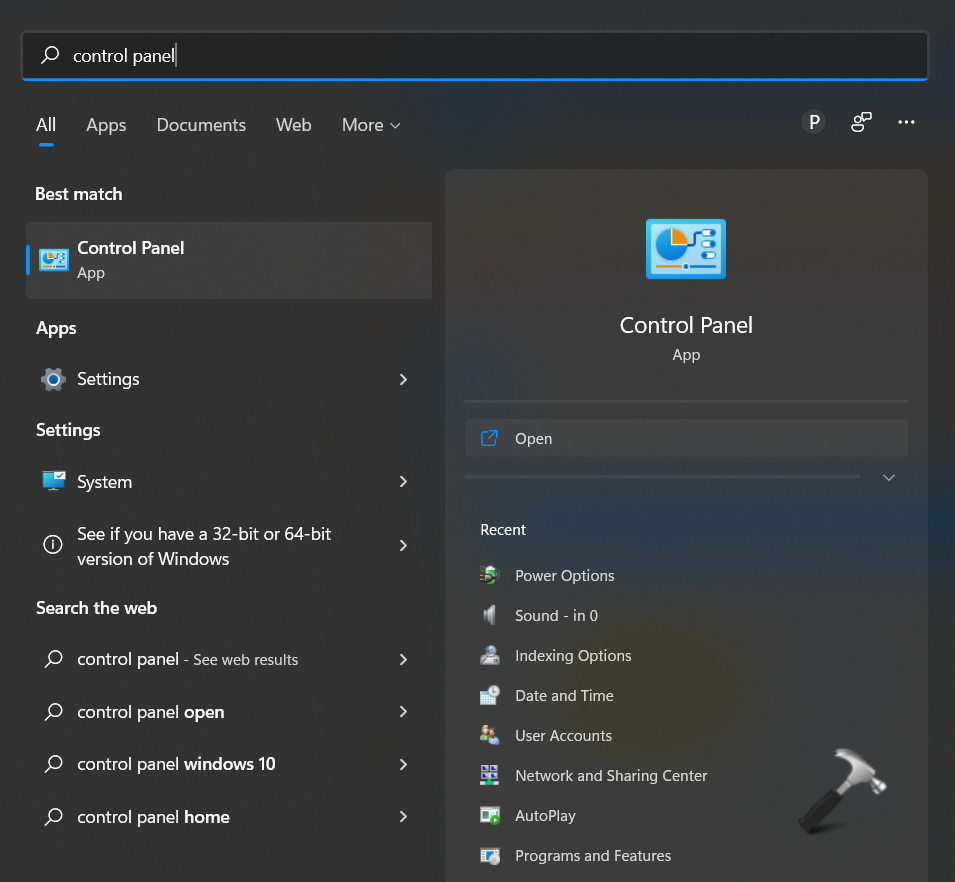
Open Settings: Access the Windows 11 settings by clicking the Start menu and selecting "Settings".
-
Navigate to Recovery: In the Settings window, click on "System" and then select "Recovery".
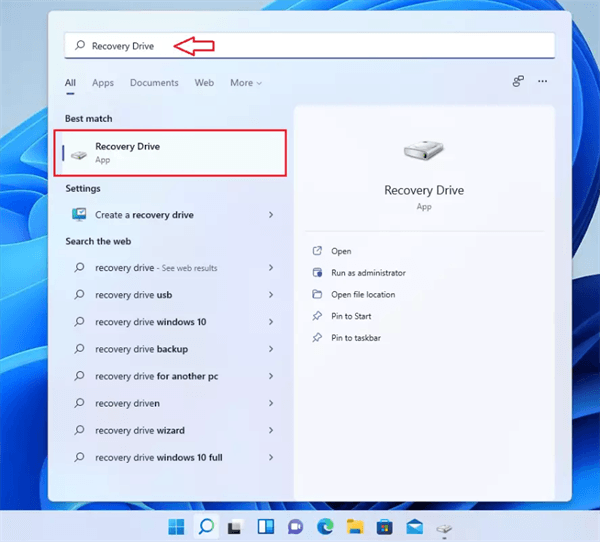
-
Create a Recovery Drive: Under the "Recovery options" section, click on "Create a recovery drive".
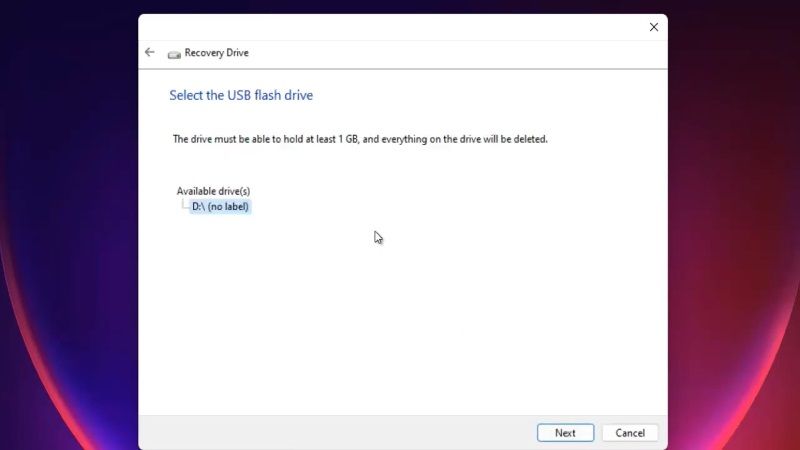
-
Choose a Drive: Select the USB drive you prepared and click "Next".
-
Select Options: Choose whether to back up system files or not. Selecting this option will include a copy of your Windows 11 installation files on the recovery drive, potentially requiring a larger USB drive.
-
Start Creation: Click "Create" to begin the process.
-
Wait for Completion: The creation process may take some time, depending on the size of the recovery drive and your system’s performance.
-
Eject Drive: Once the process is complete, eject the USB drive safely.
Frequently Asked Questions
Q: What happens to the data on my USB drive during the recovery drive creation process?
A: The process will erase all data on the USB drive. It is crucial to back up any essential files before proceeding.
Q: Can I use a different type of storage device besides a USB drive to create a recovery drive?
A: Currently, Windows 11 only supports USB drives for recovery drive creation.
Q: How often should I create a recovery drive?
A: It is recommended to create a recovery drive after making significant system changes, such as installing new software or updating drivers.
Q: Can I use a recovery drive created on a different computer on my current system?
A: Generally, recovery drives are specific to the system they were created on. Using a recovery drive from another computer may not be compatible with your current system.
Q: What if I lose my recovery drive?
A: If you lose your recovery drive, you can create a new one using the same steps mentioned above. However, you may need to download the Windows 11 installation media from Microsoft’s website if you did not include system files during the initial creation.
Tips for Using a Recovery Drive
-
Store the Recovery Drive Safely: Keep the recovery drive in a safe and accessible location, separate from your main computer.
-
Test the Recovery Drive Regularly: Periodically test the recovery drive to ensure it is functional and can boot your system.
-
Update the Recovery Drive: After significant system changes, consider creating a new recovery drive to ensure it reflects the latest system configuration.
Conclusion
Creating a recovery drive for Windows 11 is an essential step in safeguarding your digital world. It provides a robust solution for restoring your system to a functional state in the event of unforeseen circumstances. By following the steps outlined above, you can create a recovery drive that offers peace of mind and protects your valuable data and system stability. Regularly updating and testing the recovery drive ensures its effectiveness in the event of a system failure. Remember, a recovery drive is a proactive measure that can save you time, effort, and potential data loss in the long run.


Closure
Thus, we hope this article has provided valuable insights into Safeguarding Your Digital World: Creating a Recovery Drive for Windows 11. We appreciate your attention to our article. See you in our next article!