Navigating the Transition: Downgrading from Windows 10 Pro to Home
Related Articles: Navigating the Transition: Downgrading from Windows 10 Pro to Home
Introduction
With great pleasure, we will explore the intriguing topic related to Navigating the Transition: Downgrading from Windows 10 Pro to Home. Let’s weave interesting information and offer fresh perspectives to the readers.
Table of Content
Navigating the Transition: Downgrading from Windows 10 Pro to Home

The decision to transition from Windows 10 Pro to Windows 10 Home is often driven by a desire to streamline costs, simplify functionality, or align with specific needs. While seemingly straightforward, this process requires careful consideration and meticulous execution to ensure a smooth and successful transition. This article aims to provide a comprehensive guide, outlining the intricacies of this process, the potential benefits, and the crucial steps involved.
Understanding the Differences: Pro vs. Home
Before embarking on the downgrade, it is essential to understand the fundamental distinctions between Windows 10 Pro and Windows 10 Home. This knowledge will help in assessing the suitability of the Home edition for your specific requirements.
Windows 10 Pro offers a robust set of features tailored towards businesses and power users, including:
- Domain Join: Enables seamless integration into corporate networks for centralized management and security.
- BitLocker Drive Encryption: Provides robust data protection by encrypting entire drives, safeguarding sensitive information.
- Hyper-V: Enables virtual machine creation and management, allowing users to run multiple operating systems simultaneously.
- Remote Desktop: Allows remote access to the computer, facilitating remote work and administration.
- Windows Sandbox: Provides a secure and isolated environment for testing software without affecting the main system.
Windows 10 Home focuses on providing a user-friendly and accessible experience for everyday users. It offers a streamlined interface, familiar features, and a robust set of basic applications. However, it lacks the advanced features found in Windows 10 Pro, such as domain join, BitLocker encryption, and Hyper-V.
Weighing the Benefits: When Downgrading Makes Sense
The decision to downgrade from Windows 10 Pro to Windows 10 Home should be driven by a clear understanding of the benefits and potential drawbacks. Downgrading can be advantageous in several scenarios:
- Cost Savings: Windows 10 Home is typically priced lower than Windows 10 Pro. This cost difference can be significant, especially for multiple installations.
- Simplified Functionality: For users who do not require the advanced features of Windows 10 Pro, the streamlined interface and reduced feature set of Windows 10 Home might be more appealing.
- Performance Optimization: For older or less powerful computers, the reduced resource demands of Windows 10 Home can lead to improved performance and responsiveness.
However, it is crucial to recognize the potential drawbacks:
- Feature Loss: Downgrading to Windows 10 Home means losing access to advanced features like domain join, BitLocker encryption, and Hyper-V.
- Limited Customization: Windows 10 Home offers fewer customization options compared to Windows 10 Pro.
- Potential Compatibility Issues: Certain software or hardware might require specific features found only in Windows 10 Pro.
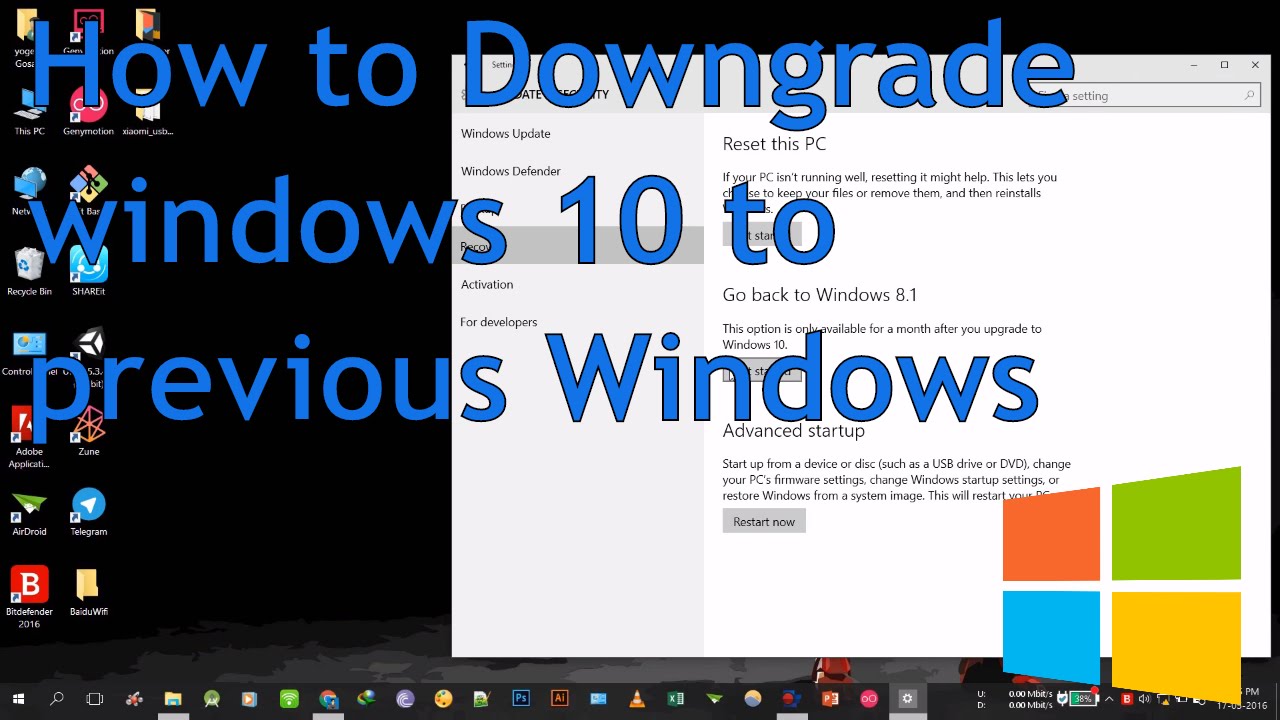
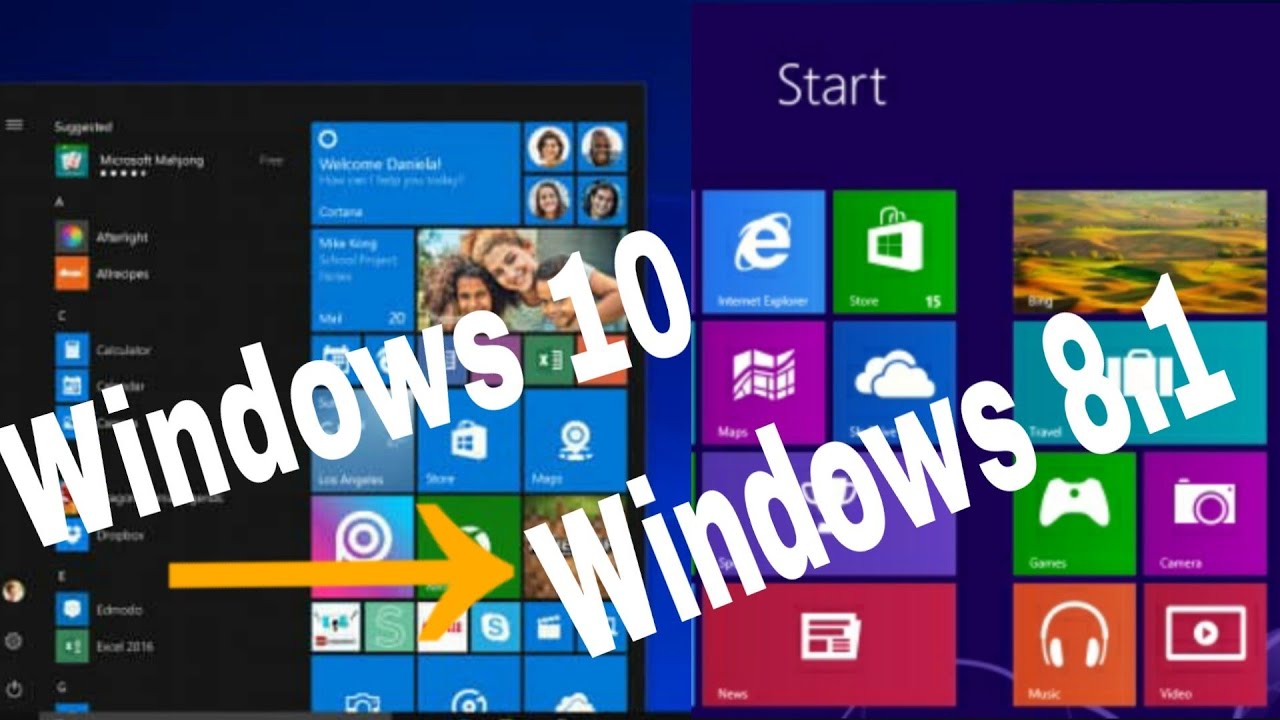
The Downgrade Process: A Step-by-Step Guide
The downgrade process from Windows 10 Pro to Windows 10 Home requires careful planning and execution. Here is a step-by-step guide to ensure a smooth transition:
- Backup Your Data: Before proceeding with any system changes, it is crucial to back up all important data. This can be done using external drives, cloud storage services, or system imaging tools.
- Check Compatibility: Ensure that your hardware and software are compatible with Windows 10 Home. Some applications or devices might require specific features found only in Windows 10 Pro.
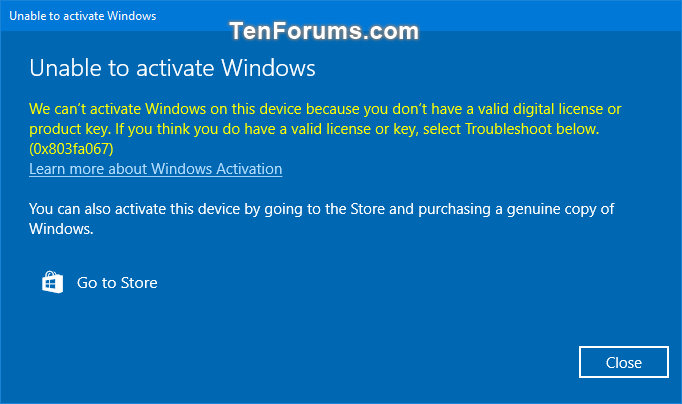
- Purchase a Windows 10 Home License: Obtain a valid license key for Windows 10 Home. This can be purchased directly from Microsoft or authorized retailers.
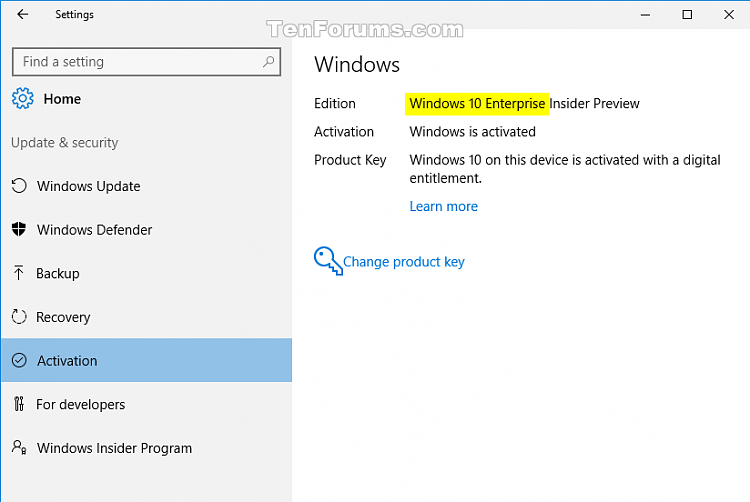
- Prepare for Activation: Understand the activation process for Windows 10 Home. You will need the license key to activate the operating system after the downgrade.
- Perform a Clean Install (Recommended): A clean install involves wiping the entire hard drive and installing Windows 10 Home from scratch. This ensures a fresh and optimized system. However, it requires backing up all data before proceeding.
- Upgrade Using Media Creation Tool (Alternative): If a clean install is not desired, you can use the Microsoft Media Creation Tool to create a bootable USB drive with Windows 10 Home. Then, boot from the USB drive and follow the on-screen instructions to upgrade your existing system.
- Activate Windows 10 Home: After the installation is complete, enter the Windows 10 Home license key to activate the operating system.
FAQs: Addressing Common Concerns
Q: Can I downgrade from Windows 10 Pro to Home without losing data?
A: While it is possible to downgrade without losing data, a clean install is highly recommended for a fresh and optimized system. Backing up all data before proceeding is crucial.
Q: Can I upgrade back to Windows 10 Pro after downgrading?
A: Yes, you can upgrade back to Windows 10 Pro at any time by purchasing a new license key and following the upgrade process. However, you will need to ensure that your system meets the minimum requirements for Windows 10 Pro.
Q: What happens to the features I lose after downgrading?
A: Features like domain join, BitLocker encryption, and Hyper-V will become unavailable after downgrading to Windows 10 Home. You will need to explore alternative solutions if these features are essential.
Q: Can I downgrade from Windows 10 Pro to Home without a license key?
A: No, you cannot downgrade to Windows 10 Home without a valid license key. You will need to purchase a new license key to activate the operating system.
Tips for a Successful Downgrade
- Thorough Planning: Carefully consider your needs and ensure that Windows 10 Home meets your requirements before proceeding.
- Complete Backup: Create a comprehensive backup of all data before starting the downgrade process.
- Clean Install (Recommended): A clean install ensures a fresh and optimized system.
- License Key Availability: Ensure you have a valid license key for Windows 10 Home before starting the downgrade process.
- System Requirements: Verify that your computer meets the minimum system requirements for Windows 10 Home.
- Software Compatibility: Check the compatibility of your software with Windows 10 Home.
Conclusion: A Tailored Approach to System Optimization
Downgrading from Windows 10 Pro to Home can be a strategic decision for users seeking cost savings, simplified functionality, or performance optimization. However, it is crucial to understand the implications of this transition, including the loss of certain features and potential compatibility issues. By carefully planning, backing up data, and following the outlined steps, users can navigate this process effectively and achieve a tailored system configuration that aligns with their specific needs.


Closure
Thus, we hope this article has provided valuable insights into Navigating the Transition: Downgrading from Windows 10 Pro to Home. We appreciate your attention to our article. See you in our next article!