Navigating the Landscape of Disk Management in Windows 11: A Comprehensive Guide
Related Articles: Navigating the Landscape of Disk Management in Windows 11: A Comprehensive Guide
Introduction
With great pleasure, we will explore the intriguing topic related to Navigating the Landscape of Disk Management in Windows 11: A Comprehensive Guide. Let’s weave interesting information and offer fresh perspectives to the readers.
Table of Content
Navigating the Landscape of Disk Management in Windows 11: A Comprehensive Guide
Windows 11, with its refined interface and enhanced features, presents a user-friendly environment for managing the storage space on your computer. Understanding how to effectively manage your disks is crucial for maintaining system performance, optimizing storage utilization, and ensuring data integrity. This comprehensive guide explores the intricacies of disk management in Windows 11, highlighting its importance and providing practical insights for navigating this essential aspect of your operating system.
Understanding the Foundation: Disk Management in Windows 11
Disk management encompasses a range of tasks related to the organization and utilization of storage space on your computer. This includes:
- Creating and formatting partitions: Dividing your physical storage into logical sections to organize files and applications.
- Managing drive letters: Assigning unique identifiers to partitions for easy access.
- Creating, deleting, and resizing volumes: Defining and manipulating the usable space on your disks.
- Setting partition properties: Configuring access permissions, file system types, and other settings for specific partitions.
- Monitoring disk health: Identifying potential issues like errors or failing sectors.
- Performing basic disk maintenance: Optimizing storage performance by defragmenting or checking for errors.
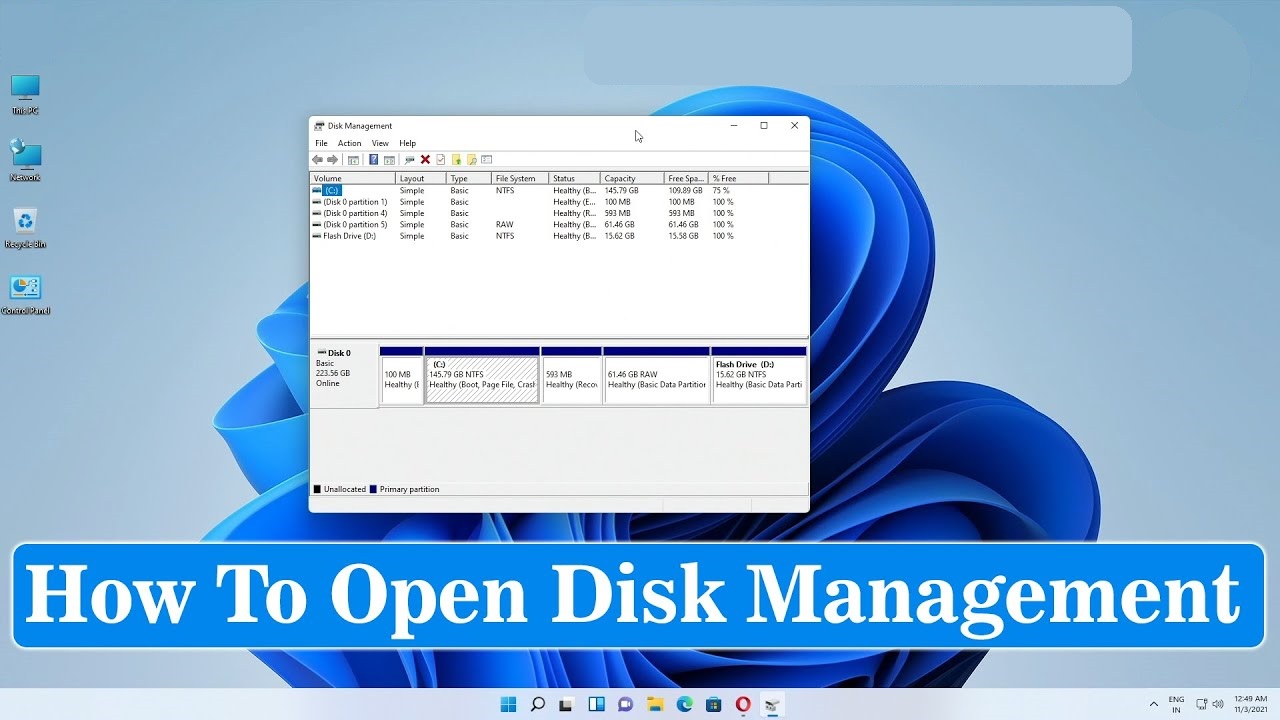
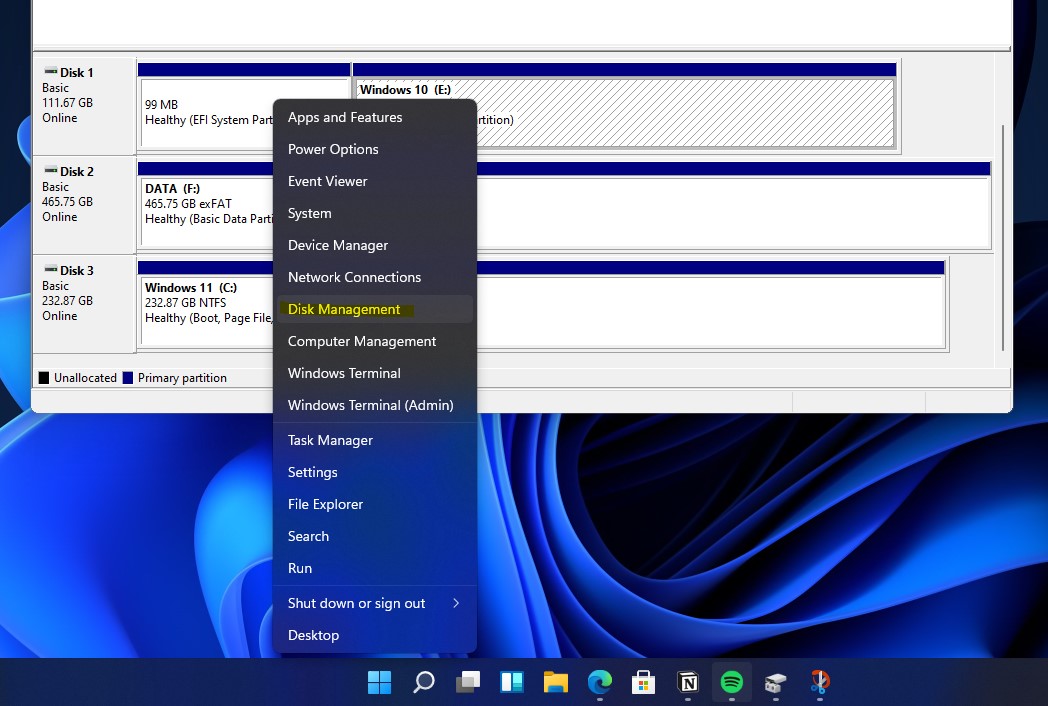
Accessing the Disk Management Console
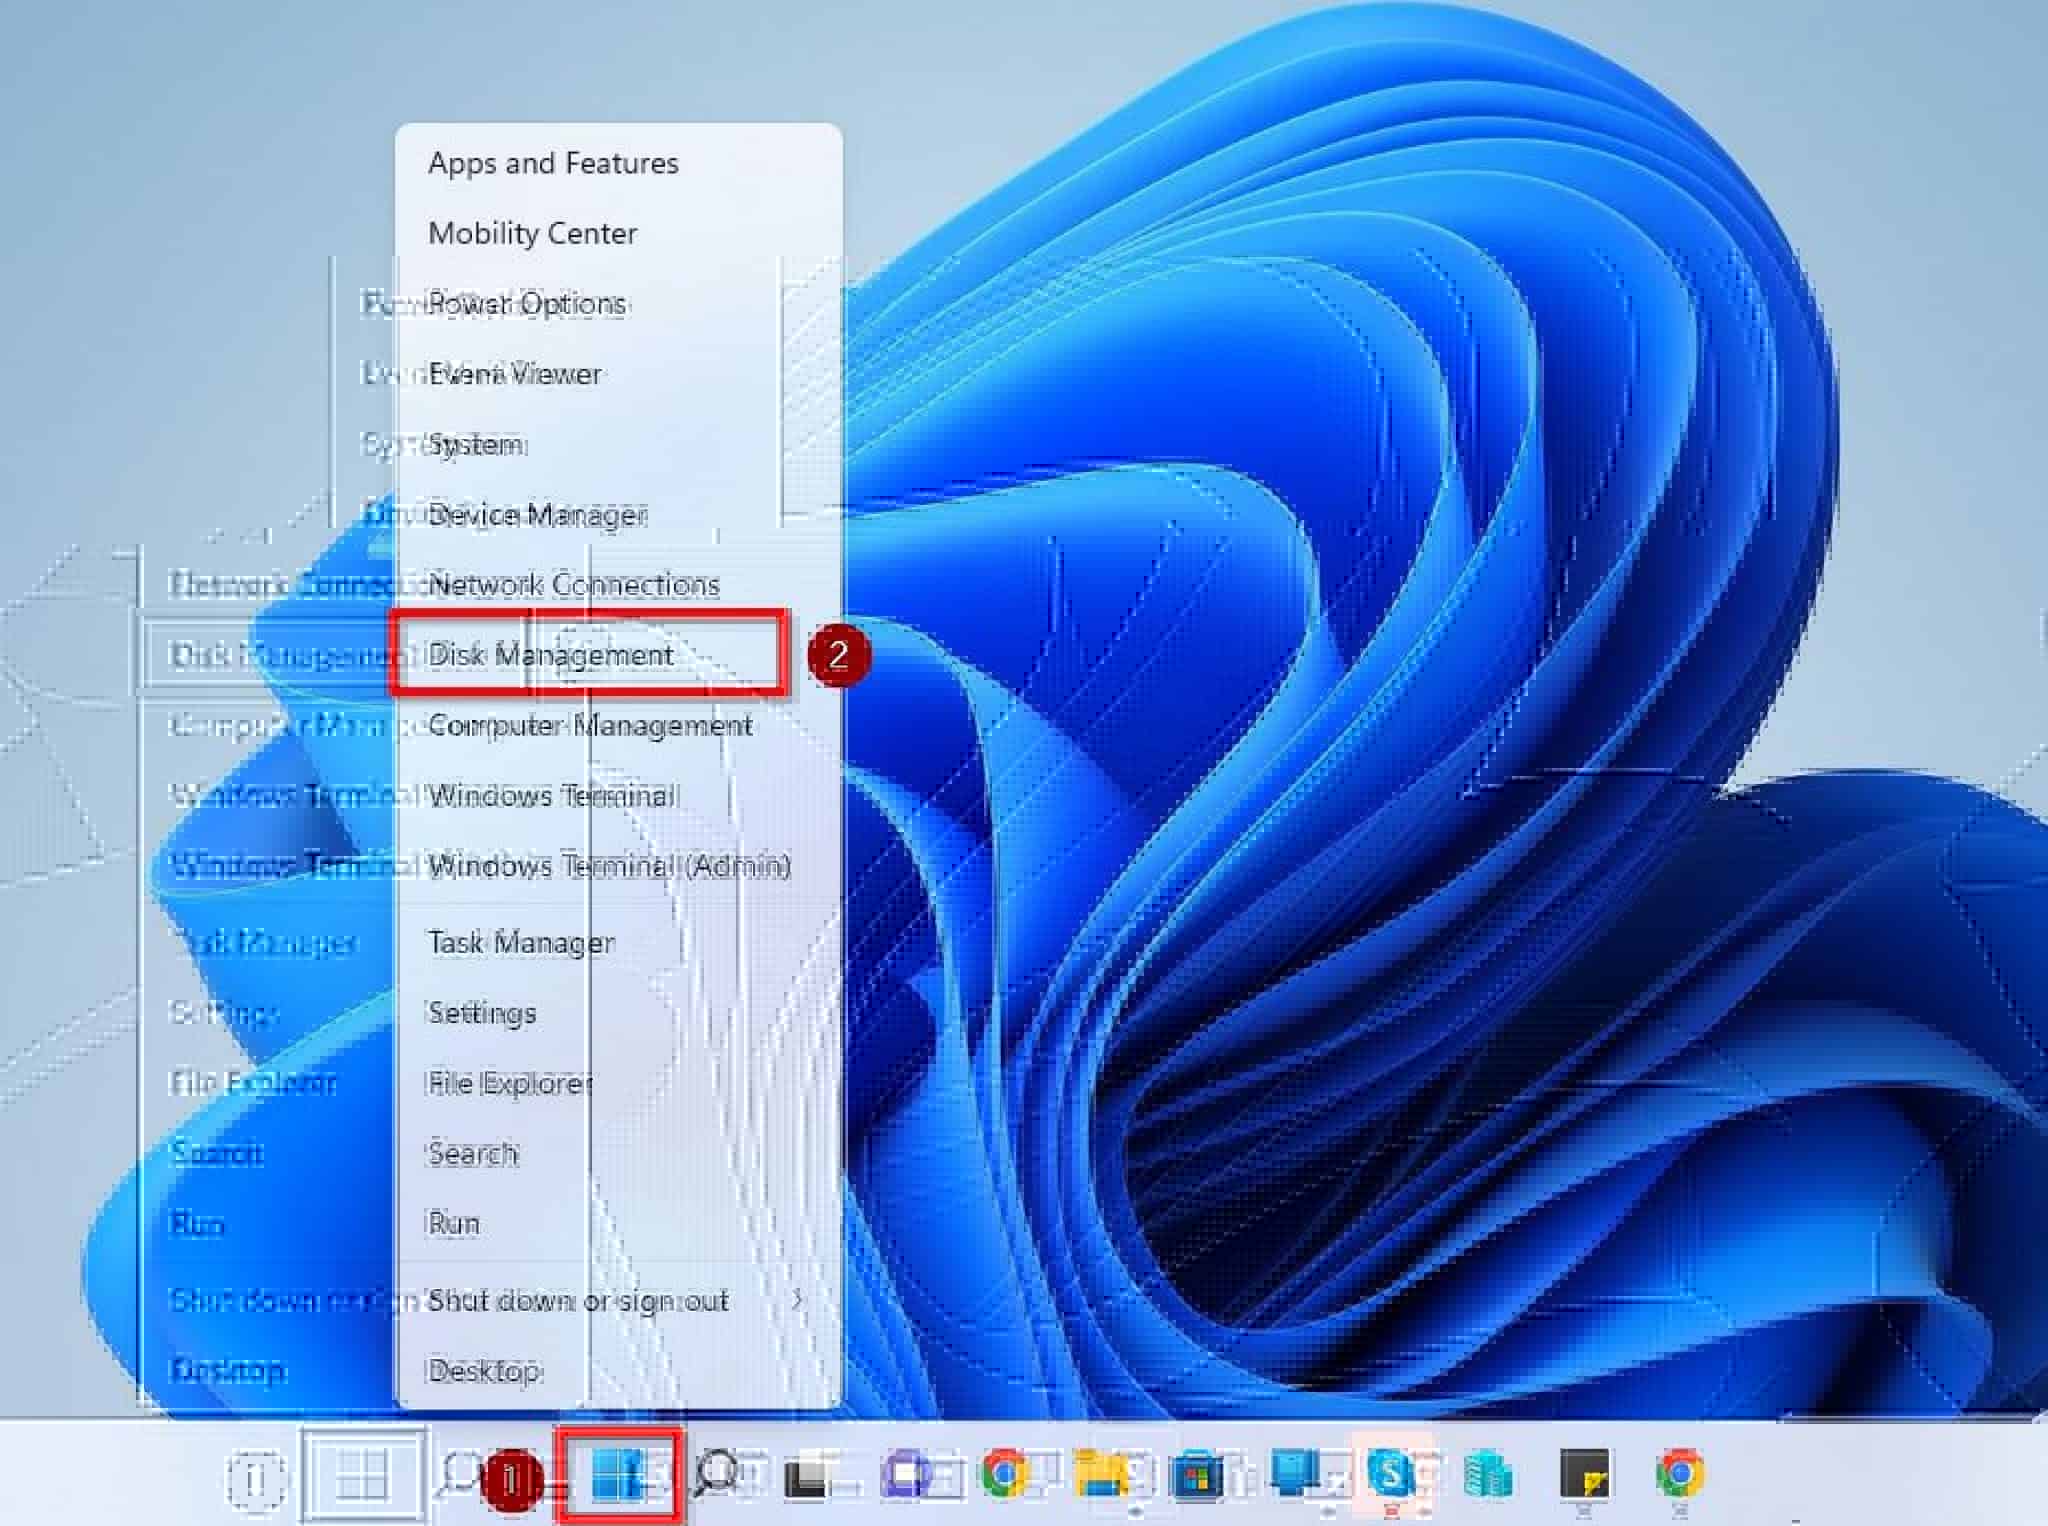
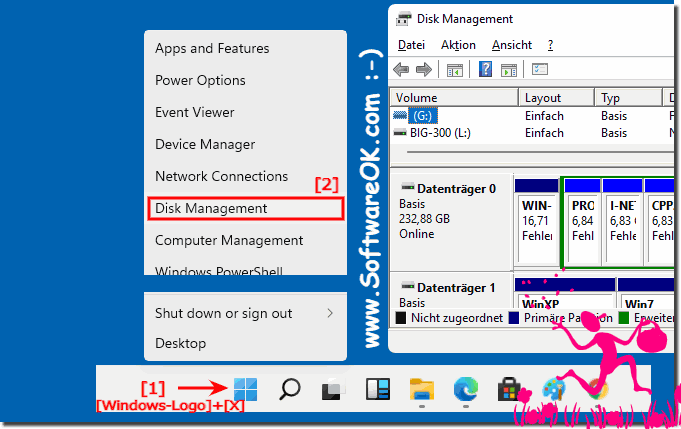
The Disk Management console in Windows 11 provides a centralized interface for all your storage management needs. You can access it through multiple methods:
-
Using the Start Menu:
- Click the Start button.
- Type "disk management" in the search bar.
- Select Create and format hard disk partitions.
-
Using the Run Dialog:
- Press Windows key + R to open the Run dialog.
- Type "diskmgmt.msc" and click OK.
-
Using File Explorer:
- Open File Explorer.
- Navigate to This PC.
- Right-click on any drive and select Manage.
- In the Computer Management window, click Disk Management under Storage.
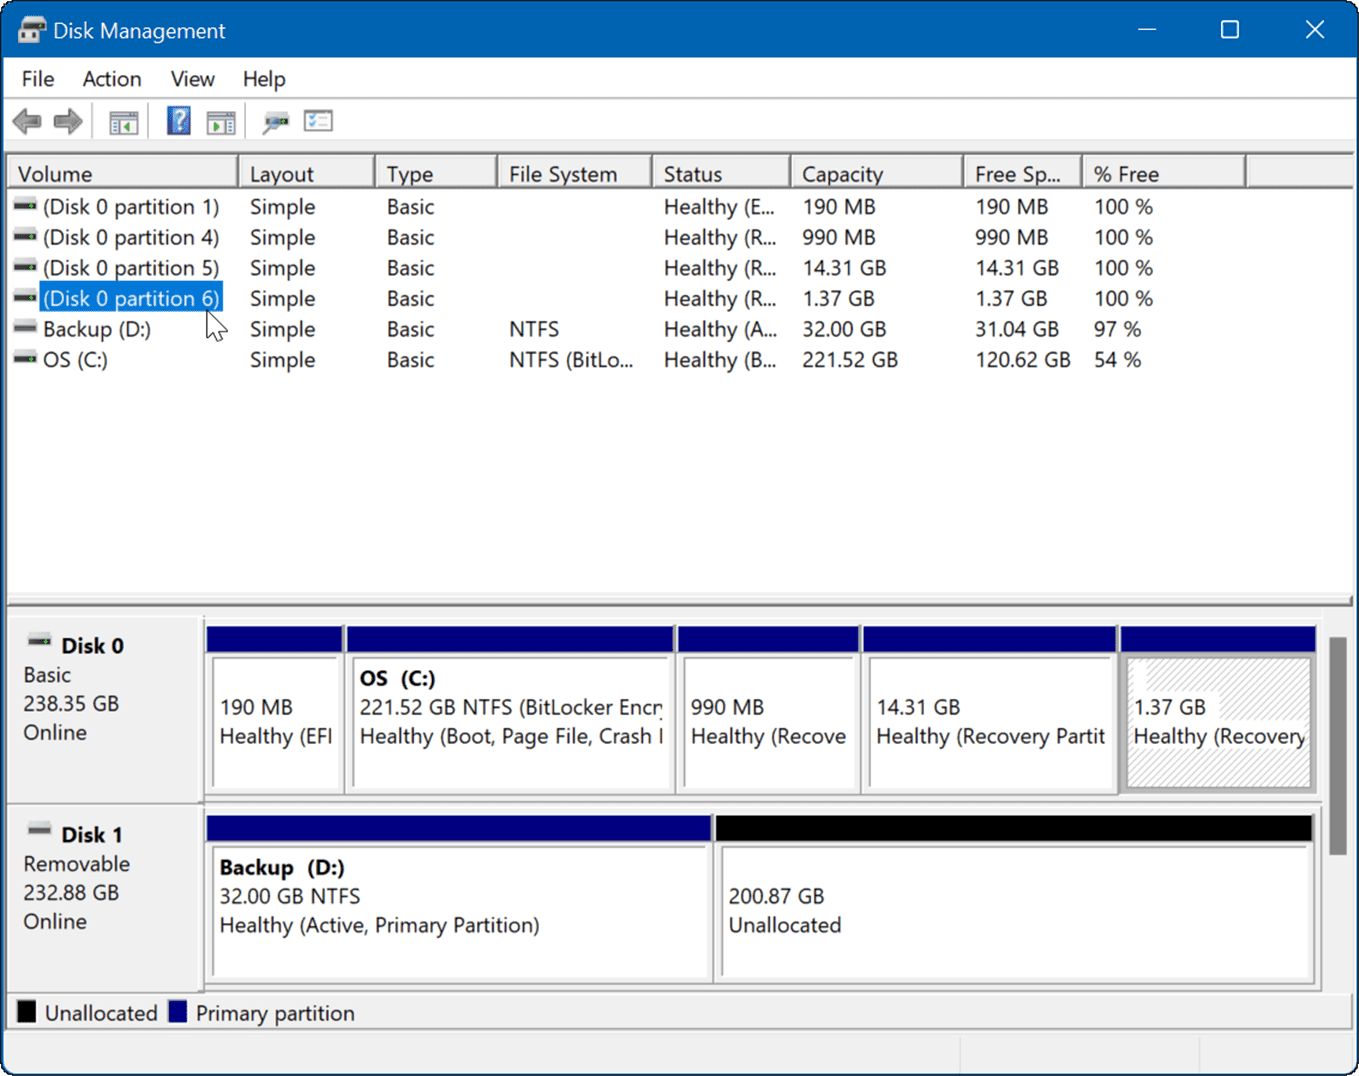
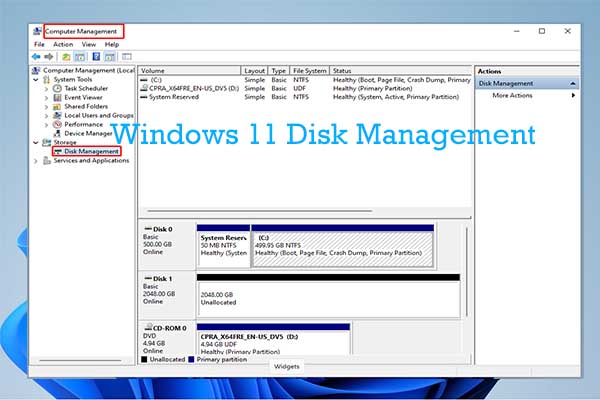
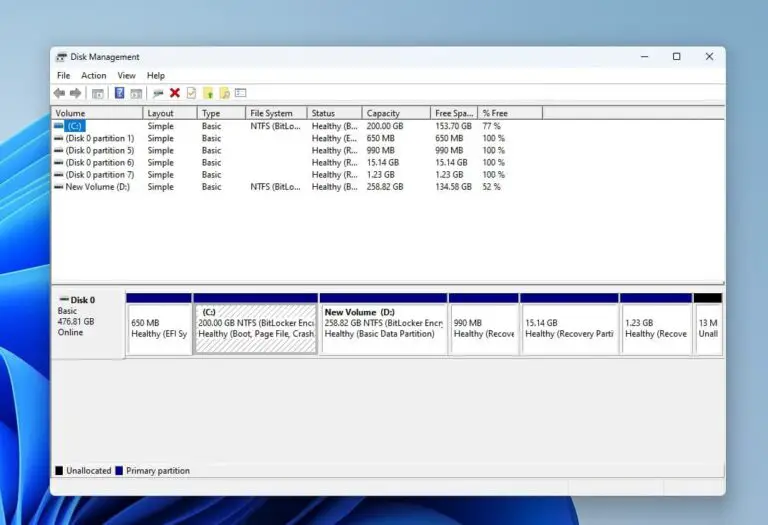
Exploring the Disk Management Interface
The Disk Management console presents a visual representation of your connected storage devices. It displays:
- Disk list: A list of all physical disks connected to your computer, identified by their disk number and size.
- Partition map: A graphical representation of each disk, showing its partitions and their properties.
- Volume list: A detailed view of all volumes on your system, including their drive letters, file system, and status.
Essential Disk Management Tasks: A Step-by-Step Guide
1. Creating and Formatting Partitions:
- Right-click on unallocated space on a disk.
- Select New Simple Volume.
- Follow the wizard prompts to specify the volume size, drive letter, file system (usually NTFS for Windows), and volume label.
2. Managing Drive Letters:
- Right-click on a volume.
- Select Change Drive Letter and Paths.
- Click Change and choose a different drive letter from the dropdown menu.
3. Creating, Deleting, and Resizing Volumes:
- Creating a new volume: Follow the steps for creating a new simple volume mentioned above.
-
Deleting a volume:
- Right-click on the volume you want to delete.
- Select Delete Volume.
- Confirm the deletion.
-
Resizing a volume:
- Right-click on the volume you want to resize.
- Select Extend Volume or Shrink Volume depending on your requirement.
- Follow the wizard prompts to adjust the volume size.
4. Setting Partition Properties:
- Right-click on a volume or partition.
- Select Properties.
- Access different tabs to configure settings like:
- General: View basic information about the volume.
- Hardware: Check the underlying disk and its properties.
- Security: Set access permissions for users and groups.
- Tools: Perform disk-related tasks like defragmentation or error checking.
5. Monitoring Disk Health:
- Right-click on a disk in the Disk Management console.
- Select Properties.
- Navigate to the Tools tab.
- Click Check Now under Error checking.
- Select the options to scan for errors and attempt to fix them.
6. Performing Basic Disk Maintenance:
-
Defragmentation: This process optimizes storage performance by consolidating fragmented files.
- Access the Tools tab in the disk properties.
- Click Defragment and Optimize Drives.
-
Error checking: This scans for and attempts to repair errors on the disk.
- Access the Tools tab in the disk properties.
- Click Check Now under Error checking.
Importance and Benefits of Effective Disk Management
Effective disk management is crucial for maintaining a healthy and efficient computing experience. The benefits include:
- Optimized storage utilization: By properly partitioning and managing your disks, you can ensure that your storage space is used effectively, preventing unnecessary clutter and maximizing available space for important files and applications.
- Enhanced system performance: Fragmentation on your disk can lead to slower access times and overall system sluggishness. Regular defragmentation and proper disk management can significantly improve system performance.
- Data integrity and security: Proper disk management practices help protect your valuable data by minimizing the risk of data loss due to errors or corruption.
- Troubleshooting and problem solving: Understanding disk management principles allows you to effectively diagnose and resolve storage-related issues.
- Improved system stability: Proper disk management practices contribute to a more stable and reliable computing experience.
FAQs Regarding Disk Management in Windows 11
Q: What are the different types of partitions?
A: Windows 11 supports various partition types, each serving a specific purpose:
- Primary partition: The main partition where your operating system is installed.
- Logical partition: A partition created within an extended partition, allowing for multiple logical partitions on a single disk.
- Extended partition: A special partition that can contain multiple logical partitions.
- System partition: A reserved partition that contains essential boot files for the operating system.
- Recovery partition: A partition containing system recovery tools and data.
Q: Can I change the file system of a partition?
A: Yes, you can change the file system of a partition, but it requires careful consideration:
- Converting from NTFS to FAT32: This is possible but will result in data loss as FAT32 does not support files larger than 4GB.
- Converting from FAT32 to NTFS: This is generally recommended as NTFS offers better performance, security, and features.
Q: What happens when I delete a partition?
A: Deleting a partition permanently removes all data stored on it. Ensure you have backed up any important data before deleting a partition.
Q: How do I recover data from a deleted partition?
A: Data recovery software can potentially recover data from a deleted partition, but the success rate depends on various factors.
Q: What are the common disk errors and how do I fix them?
A: Common disk errors include:
- File system errors: These can occur due to improper shutdown, power outages, or hardware failures.
- Bad sectors: These are physical defects on the disk that can cause data corruption.
- Disk corruption: This can occur due to software bugs, malware, or hardware issues.
Tips for Effective Disk Management in Windows 11
- Regularly monitor disk health: Use the built-in error checking tool to identify and address potential issues.
- Defragment your disk: This improves storage performance and reduces system sluggishness.
- Optimize storage utilization: Regularly clean up unnecessary files and applications to free up space.
- Use a reliable backup solution: Back up your important data to prevent loss in case of hardware failure or data corruption.
- Consider using a disk management tool: Third-party tools can offer more advanced features and options for managing your disks.
Conclusion
Disk management is an integral aspect of maintaining a healthy and efficient computing environment. By understanding the principles of disk management and utilizing the tools provided by Windows 11, you can effectively organize, optimize, and protect your storage space, ensuring a seamless and reliable computing experience. Remember to regularly monitor your disk health, perform necessary maintenance tasks, and utilize backup solutions to safeguard your valuable data. With a proactive approach to disk management, you can keep your Windows 11 system running smoothly and efficiently.


Closure
Thus, we hope this article has provided valuable insights into Navigating the Landscape of Disk Management in Windows 11: A Comprehensive Guide. We hope you find this article informative and beneficial. See you in our next article!