Mastering the File Explorer Ribbon: A Guide to Customization in Windows 10
Related Articles: Mastering the File Explorer Ribbon: A Guide to Customization in Windows 10
Introduction
With great pleasure, we will explore the intriguing topic related to Mastering the File Explorer Ribbon: A Guide to Customization in Windows 10. Let’s weave interesting information and offer fresh perspectives to the readers.
Table of Content
- 1 Related Articles: Mastering the File Explorer Ribbon: A Guide to Customization in Windows 10
- 2 Introduction
- 3 Mastering the File Explorer Ribbon: A Guide to Customization in Windows 10
- 3.1 Understanding the Ribbon’s Structure
- 3.2 Tailoring the Ribbon to Your Needs
- 3.3 The Benefits of Customization
- 3.4 A Step-by-Step Guide to Customization
- 3.5 FAQs about Customizing the File Explorer Ribbon
- 3.6 Tips for Effective Customization
- 3.7 Conclusion
- 4 Closure
Mastering the File Explorer Ribbon: A Guide to Customization in Windows 10

The File Explorer in Windows 10 serves as the primary interface for navigating and managing files on your computer. Its ribbon, located at the top of the window, houses a collection of tools and commands that empower you to interact with your files effectively. While the default layout of the ribbon is designed to cater to general user needs, its inherent flexibility allows for customization to align with individual preferences and workflows. This adaptability enhances user experience, enabling a more streamlined and efficient approach to file management.
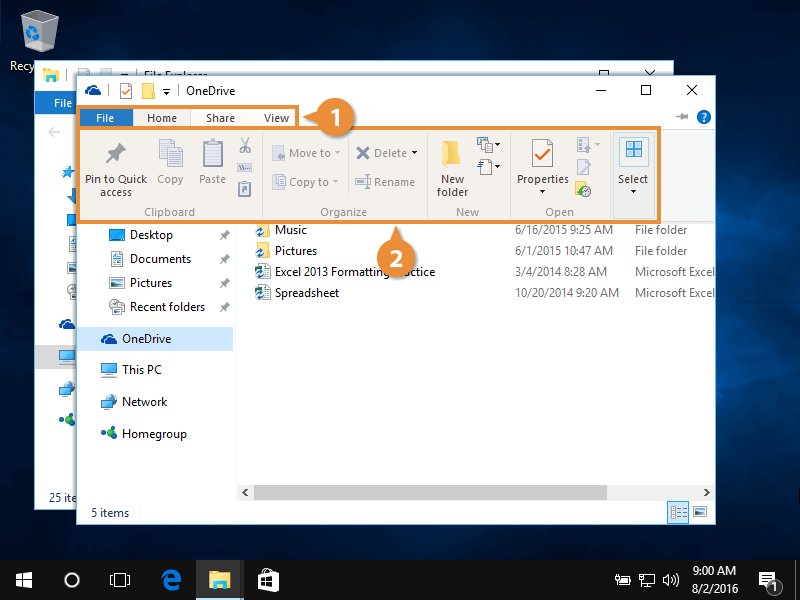
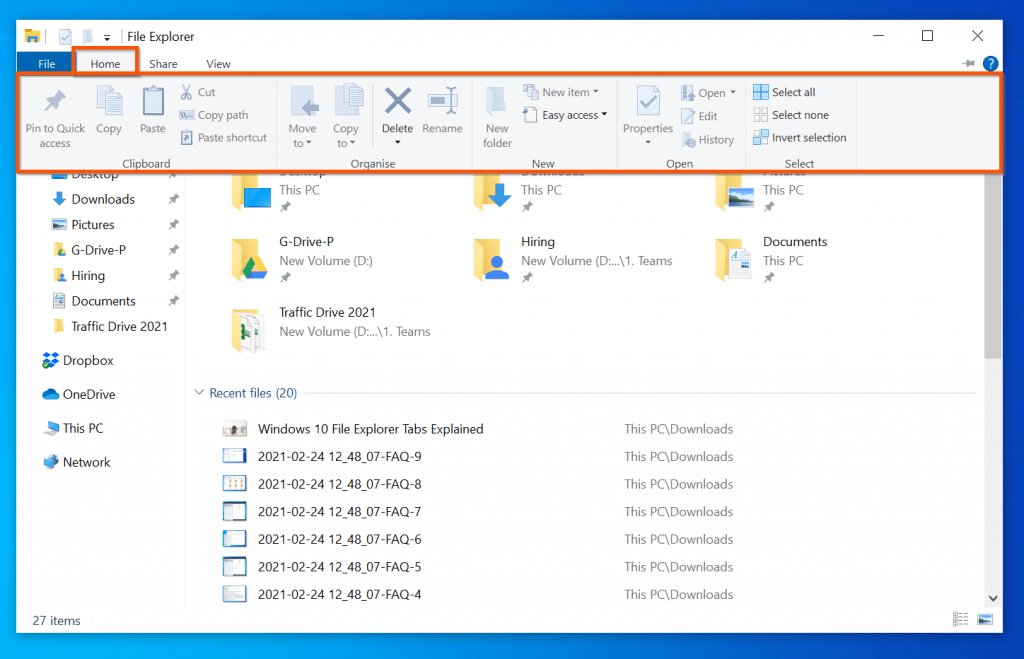
Understanding the Ribbon’s Structure
The File Explorer ribbon is divided into distinct tabs, each dedicated to a specific category of actions. These tabs, such as "Home," "Share," and "View," contain groups of related commands. For instance, the "Home" tab houses commands for file management, such as "New," "Open," and "Save," while the "View" tab offers tools for customizing the display of files and folders.
Tailoring the Ribbon to Your Needs
The ability to customize the File Explorer ribbon empowers users to tailor the interface to their specific requirements. This customization can encompass several aspects:
1. Adding or Removing Tabs: The File Explorer ribbon can be customized by adding or removing tabs based on individual needs. If a particular tab, like "Share," is rarely used, it can be removed to declutter the ribbon and streamline the interface. Conversely, if a user frequently utilizes a specific function, such as "Properties," a dedicated tab for it can be added for quick access.
2. Rearranging Tabs: The order of tabs can be rearranged to match the user’s workflow. For instance, a user who frequently accesses the "View" tab might prefer it to be positioned closer to the "Home" tab for convenient access.
3. Adding or Removing Commands: Within each tab, specific commands can be added or removed based on individual usage patterns. If a command, such as "Rename," is frequently used, it can be added to the ribbon for immediate access. Conversely, infrequently used commands can be removed to reduce clutter.
4. Creating Custom Groups: The ribbon allows users to create custom groups of commands, further enhancing organization and efficiency. These custom groups can be named and placed within specific tabs, providing a centralized location for frequently used commands.
The Benefits of Customization
Customizing the File Explorer ribbon offers numerous advantages for users:
- Enhanced Efficiency: By removing unnecessary tabs and commands, users can streamline the interface, reducing distractions and facilitating faster navigation.
- Increased Productivity: Adding frequently used commands to the ribbon enables quick access, minimizing the need to navigate through menus or search for specific functions.
- Personalized Workflow: The ability to rearrange tabs and create custom groups allows users to tailor the interface to their individual workflow, maximizing efficiency and minimizing cognitive overhead.
- Improved User Experience: A customized ribbon reflects individual preferences and usage patterns, creating a more intuitive and personalized interface that enhances user satisfaction.
A Step-by-Step Guide to Customization
Customizing the File Explorer ribbon in Windows 10 is a straightforward process:
- Open File Explorer: Navigate to the File Explorer by clicking its icon on the taskbar or using the keyboard shortcut "Windows Key + E."
- Access the Ribbon Options: Click on the "View" tab in the ribbon.
- Select "Options": In the "View" tab, locate the "Options" group and click on the "Options" button.
- Customize the Ribbon: The "Folder Options" dialog box will appear. Navigate to the "Customize Ribbon" tab.
- Add or Remove Tabs: In the "Customize Ribbon" tab, you can add or remove tabs by selecting or deselecting the corresponding checkboxes.
- Rearrange Tabs: To rearrange tabs, select a tab from the "Available commands" list and click the "Add >>" button to move it to the "Selected commands" list. Use the "Move Up" and "Move Down" buttons to adjust the order of the tabs.
- Add or Remove Commands: Within each tab, you can add or remove commands by selecting or deselecting the corresponding checkboxes.
- Create Custom Groups: To create a custom group, click the "New Group" button. Name the group and select the desired commands from the "Available commands" list.
- Apply Changes: Once you have made all the desired changes, click "OK" to apply them and close the "Folder Options" dialog box.
FAQs about Customizing the File Explorer Ribbon
Q: Can I save multiple ribbon configurations for different scenarios?
A: While Windows 10 does not offer a built-in feature to save multiple ribbon configurations, third-party tools, such as the "File Explorer Ribbon Manager," can provide this functionality.
Q: Can I customize the ribbon for specific folders or file types?
A: Unfortunately, the current version of Windows 10 does not allow for customization of the ribbon on a per-folder or per-file-type basis. The customization applies to all File Explorer windows.
Q: Are there any limitations on the number of tabs or commands I can add?
A: While there are no strict limitations on the number of tabs or commands you can add, excessive customization may lead to a cluttered and overwhelming interface.
Q: Can I revert to the default ribbon configuration?
A: Yes, you can always revert to the default ribbon configuration by following the same customization steps and deselecting all custom changes.
Tips for Effective Customization
- Start with a Minimalist Approach: Begin by removing unnecessary tabs and commands, focusing on the essentials. Gradually add commands and tabs as you identify specific needs.
- Prioritize Frequently Used Commands: Place frequently used commands on the ribbon for quick access, minimizing the need to navigate through menus.
- Create Custom Groups for Specific Tasks: Group related commands into custom groups for specific tasks, such as image editing or document creation.
- Experiment and Refine: The best customization is a personalized one. Experiment with different configurations and refine the ribbon based on your individual workflow and preferences.
Conclusion
Customizing the File Explorer ribbon in Windows 10 is a powerful tool for enhancing user experience and productivity. By tailoring the ribbon to individual needs and preferences, users can create a more efficient and streamlined workflow. The ability to add, remove, rearrange, and group commands provides a flexible and personalized interface that empowers users to manage files effectively. While the default ribbon offers a solid foundation, customization enables users to unlock the full potential of the File Explorer, maximizing efficiency and enhancing their overall computing experience.


Closure
Thus, we hope this article has provided valuable insights into Mastering the File Explorer Ribbon: A Guide to Customization in Windows 10. We hope you find this article informative and beneficial. See you in our next article!