Mastering the Art of Compression: A Comprehensive Guide to Creating ZIP Files in Windows 11
Related Articles: Mastering the Art of Compression: A Comprehensive Guide to Creating ZIP Files in Windows 11
Introduction
In this auspicious occasion, we are delighted to delve into the intriguing topic related to Mastering the Art of Compression: A Comprehensive Guide to Creating ZIP Files in Windows 11. Let’s weave interesting information and offer fresh perspectives to the readers.
Table of Content
Mastering the Art of Compression: A Comprehensive Guide to Creating ZIP Files in Windows 11

In the digital age, data management is paramount. Whether dealing with personal documents, project files, or large multimedia content, efficient organization and storage are crucial. This is where the concept of compression comes into play, and in the realm of Windows 11, ZIP files stand as a versatile and widely used solution for achieving this.
Understanding the Essence of Compression
Compression, in its simplest form, is the process of reducing the size of data without compromising its integrity. This is achieved by identifying redundancies and patterns within the data and representing them more efficiently. The result is a smaller file, taking up less storage space and facilitating faster transmission across networks.
The Significance of ZIP Files
ZIP files, named after the ubiquitous "zip code" system, are a common archive format used for compressing multiple files and folders into a single, manageable unit. This offers numerous advantages:
- Space Optimization: ZIP files significantly reduce the size of data, freeing up valuable storage space on your computer or external drives.
- Efficient Sharing: Compressed files are easier and faster to share via email, cloud storage, or other online platforms.
- Enhanced Security: ZIP files can be password-protected, adding an extra layer of security to sensitive data.
- Simplified Organization: Combining multiple files into a single ZIP archive simplifies file management, reducing clutter and improving organization.
Navigating the Art of Creating ZIP Files in Windows 11
Windows 11 provides multiple intuitive methods for creating ZIP files, catering to varying user preferences and scenarios.
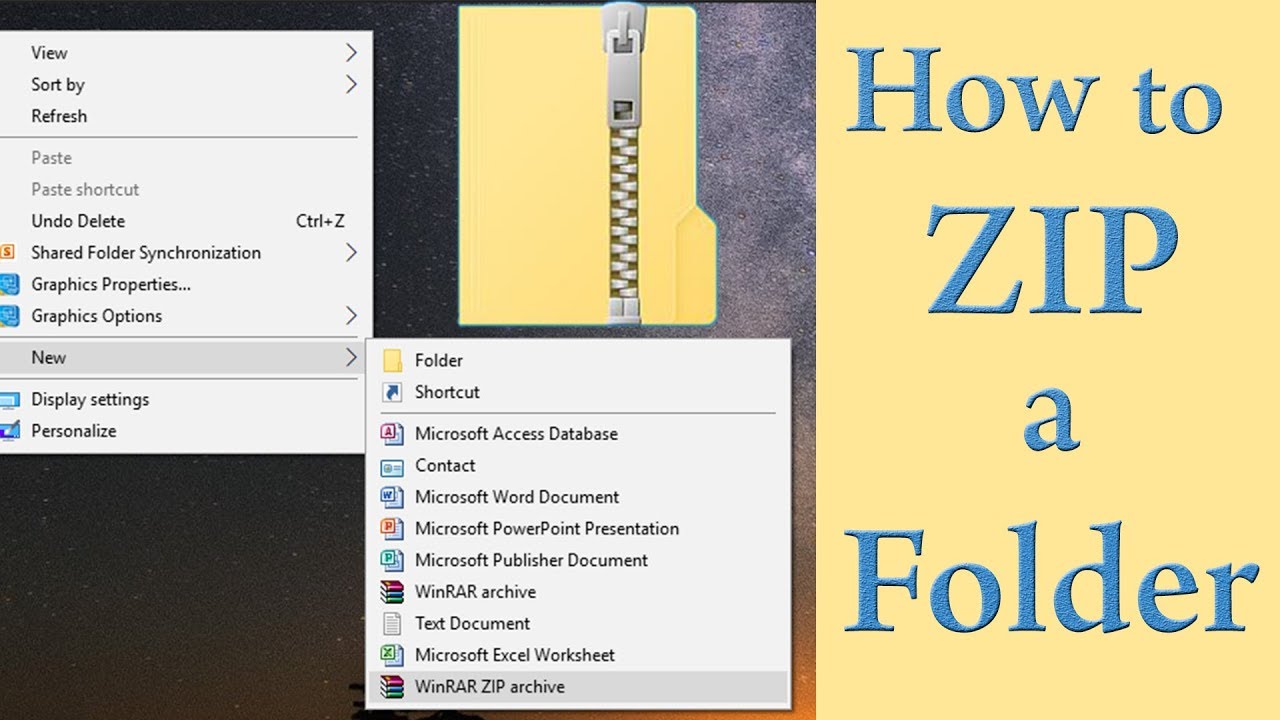
Method 1: Utilizing the Built-in Context Menu
- Select Files or Folders: Identify the files or folders you wish to compress.
- Right-Click: Right-click on the selected items.
- Choose "Add to archive": From the context menu, select the "Add to archive" option.
-
Customize Settings: The "Add to archive" window will appear. Here, you can:
- Define Archive Name: Specify a name for your ZIP file.
- Choose Compression Level: Select the desired compression level, ranging from "Fastest" to "Best" (higher levels generally result in smaller file sizes but require more processing time).
- Enable Password Protection: If desired, set a password to protect the contents of the ZIP file.
- Click "OK": Once the settings are configured, click "OK" to initiate the compression process.
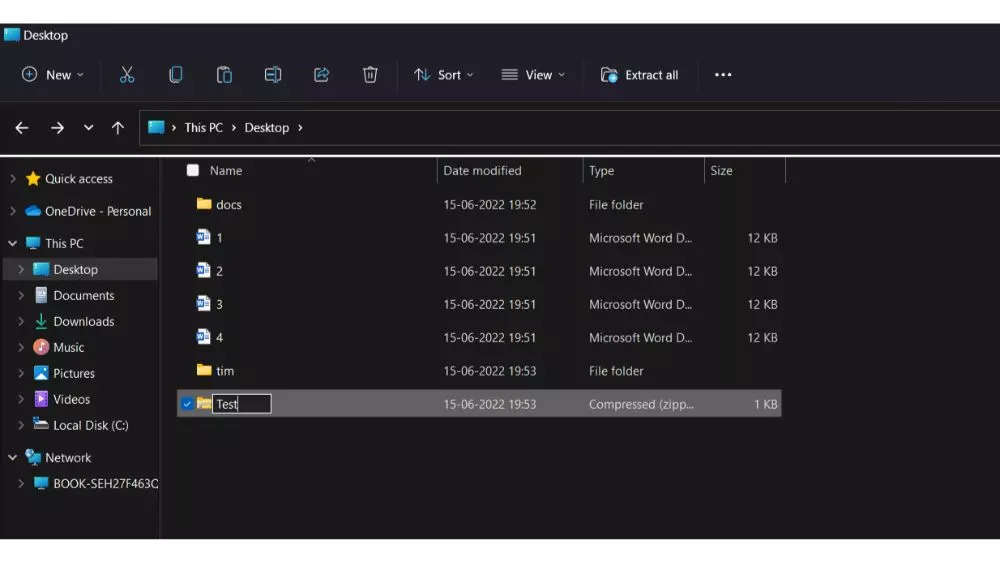
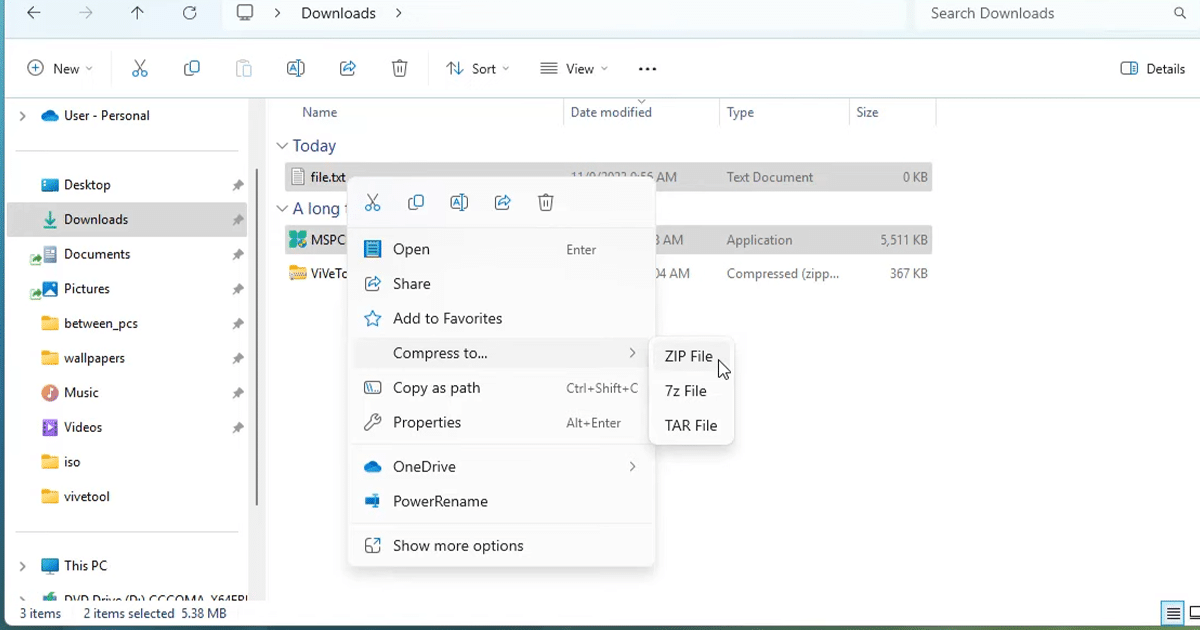
Method 2: Employing the File Explorer Ribbon
- Open File Explorer: Navigate to the location of the files or folders you want to compress.
- Select Items: Highlight the desired files or folders.
- Access the "Share" Tab: Click on the "Share" tab within the File Explorer ribbon.
- Choose "Compress to ZIP folder": Locate and click the "Compress to ZIP folder" button.
- Confirm File Name: Windows will automatically generate a ZIP file with a default name. You can optionally rename the file at this stage.
- Initiate Compression: Click "OK" to start the compression process.
Method 3: Leveraging the Command Prompt
For users familiar with command-line interfaces, Windows 11 offers the flexibility of creating ZIP files through the Command Prompt.
- Open Command Prompt: Search for "Command Prompt" in the Windows search bar and launch it.
-
Navigate to the Desired Location: Use the
cdcommand to navigate to the directory containing the files you want to compress. For example,cd C:UsersPublicDocuments. -
Execute the
zipCommand: Utilize the following command structure:zip [archive name] [files or folders to compress]- For instance, to compress all files within the current directory into a ZIP file named "myarchive.zip":
zip myarchive.zip *
-
Add Password Protection (Optional): Include the
-pflag followed by your desired password to protect the ZIP file. For example:
zip -p myarchive.zip *
Tips for Optimizing ZIP File Creation
- Consider Compression Level: While higher compression levels result in smaller file sizes, they also require more processing time. Choose a level that balances your needs for file size reduction and compression speed.
- Utilize Password Protection: When dealing with sensitive data, always consider password-protecting your ZIP files to enhance security.
- Experiment with Different Compression Methods: Windows 11 supports various compression methods, including Deflate, LZMA, and BZIP2. Experiment with different methods to determine the most effective approach for your specific data types.
- Compress Regularly: Implement a regular schedule for compressing files and folders, especially those containing sensitive or valuable information. This helps maintain data integrity and facilitates efficient storage and sharing.
Frequently Asked Questions (FAQs)
Q1: What is the difference between a ZIP file and a RAR file?
A: Both ZIP and RAR are popular archive formats for compressing files. While both achieve similar goals, they differ in their underlying compression algorithms and features. RAR files generally offer higher compression ratios, meaning they can achieve smaller file sizes compared to ZIP files. However, ZIP files are more widely supported across different operating systems and software applications.
Q2: Can I add files to an existing ZIP file?
A: Unfortunately, Windows 11’s built-in tools do not directly support adding files to existing ZIP files. However, third-party compression software, such as 7-Zip or WinRAR, often provide this functionality.
Q3: What are the best practices for password-protecting ZIP files?
A: When setting passwords for ZIP files, consider the following:
- Strong Passwords: Use a combination of uppercase and lowercase letters, numbers, and symbols to create a strong password.
- Avoid Personal Information: Do not use personal information, such as birthdays or names, in your passwords.
- Store Passwords Securely: Keep your passwords in a safe and secure location, separate from the ZIP files themselves.
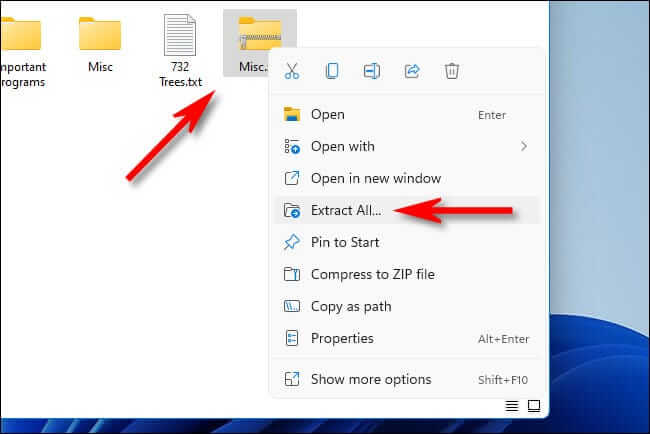
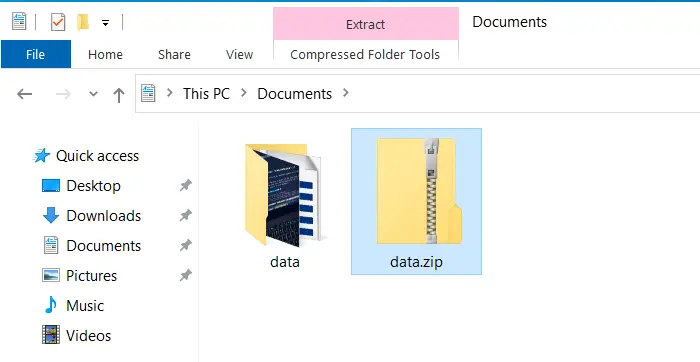
Q4: How can I extract files from a ZIP file?
A: Extracting files from a ZIP file is straightforward in Windows 11:
- Right-Click the ZIP File: Right-click on the ZIP file you want to extract.
- Select "Extract All": Choose the "Extract All" option from the context menu.
- Choose Destination Folder: Select the desired location to extract the files.
- Click "Extract": Click "Extract" to initiate the extraction process.
Conclusion
Creating ZIP files in Windows 11 is a fundamental skill for efficient data management. By leveraging the built-in tools and understanding the underlying principles of compression, users can effectively reduce file sizes, simplify file sharing, and enhance data security. Whether managing personal documents, collaborating on projects, or transferring large media files, mastering the art of ZIP file creation empowers users to navigate the digital landscape with greater efficiency and control.
:max_bytes(150000):strip_icc()/zip-files-windows-11-44cfdc29705d42f29a2fbb3089764e69.png)


Closure
Thus, we hope this article has provided valuable insights into Mastering the Art of Compression: A Comprehensive Guide to Creating ZIP Files in Windows 11. We appreciate your attention to our article. See you in our next article!