Mastering Disk Management in Windows 11: A Comprehensive Guide to the Command Prompt
Related Articles: Mastering Disk Management in Windows 11: A Comprehensive Guide to the Command Prompt
Introduction
In this auspicious occasion, we are delighted to delve into the intriguing topic related to Mastering Disk Management in Windows 11: A Comprehensive Guide to the Command Prompt. Let’s weave interesting information and offer fresh perspectives to the readers.
Table of Content
Mastering Disk Management in Windows 11: A Comprehensive Guide to the Command Prompt
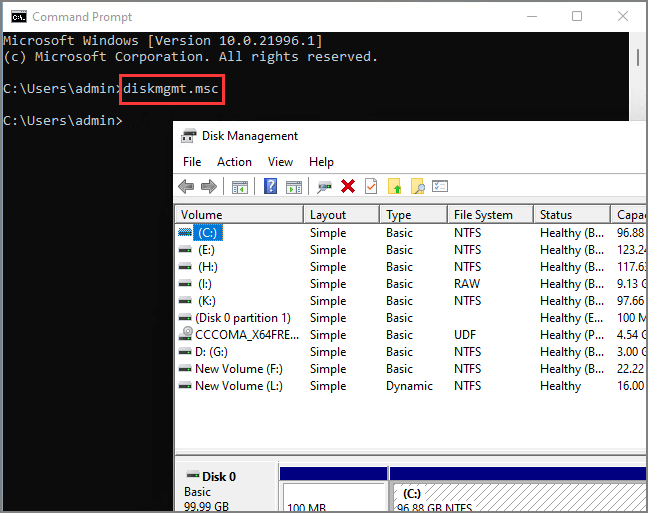
The command prompt, a powerful tool embedded within Windows 11, offers a versatile and efficient way to manage your computer’s storage. While the graphical Disk Management interface provides a user-friendly approach, the command prompt provides a deeper level of control and automation, particularly beneficial for system administrators and power users. This article delves into the intricacies of disk management using the command prompt, outlining its capabilities and demonstrating its value in various scenarios.
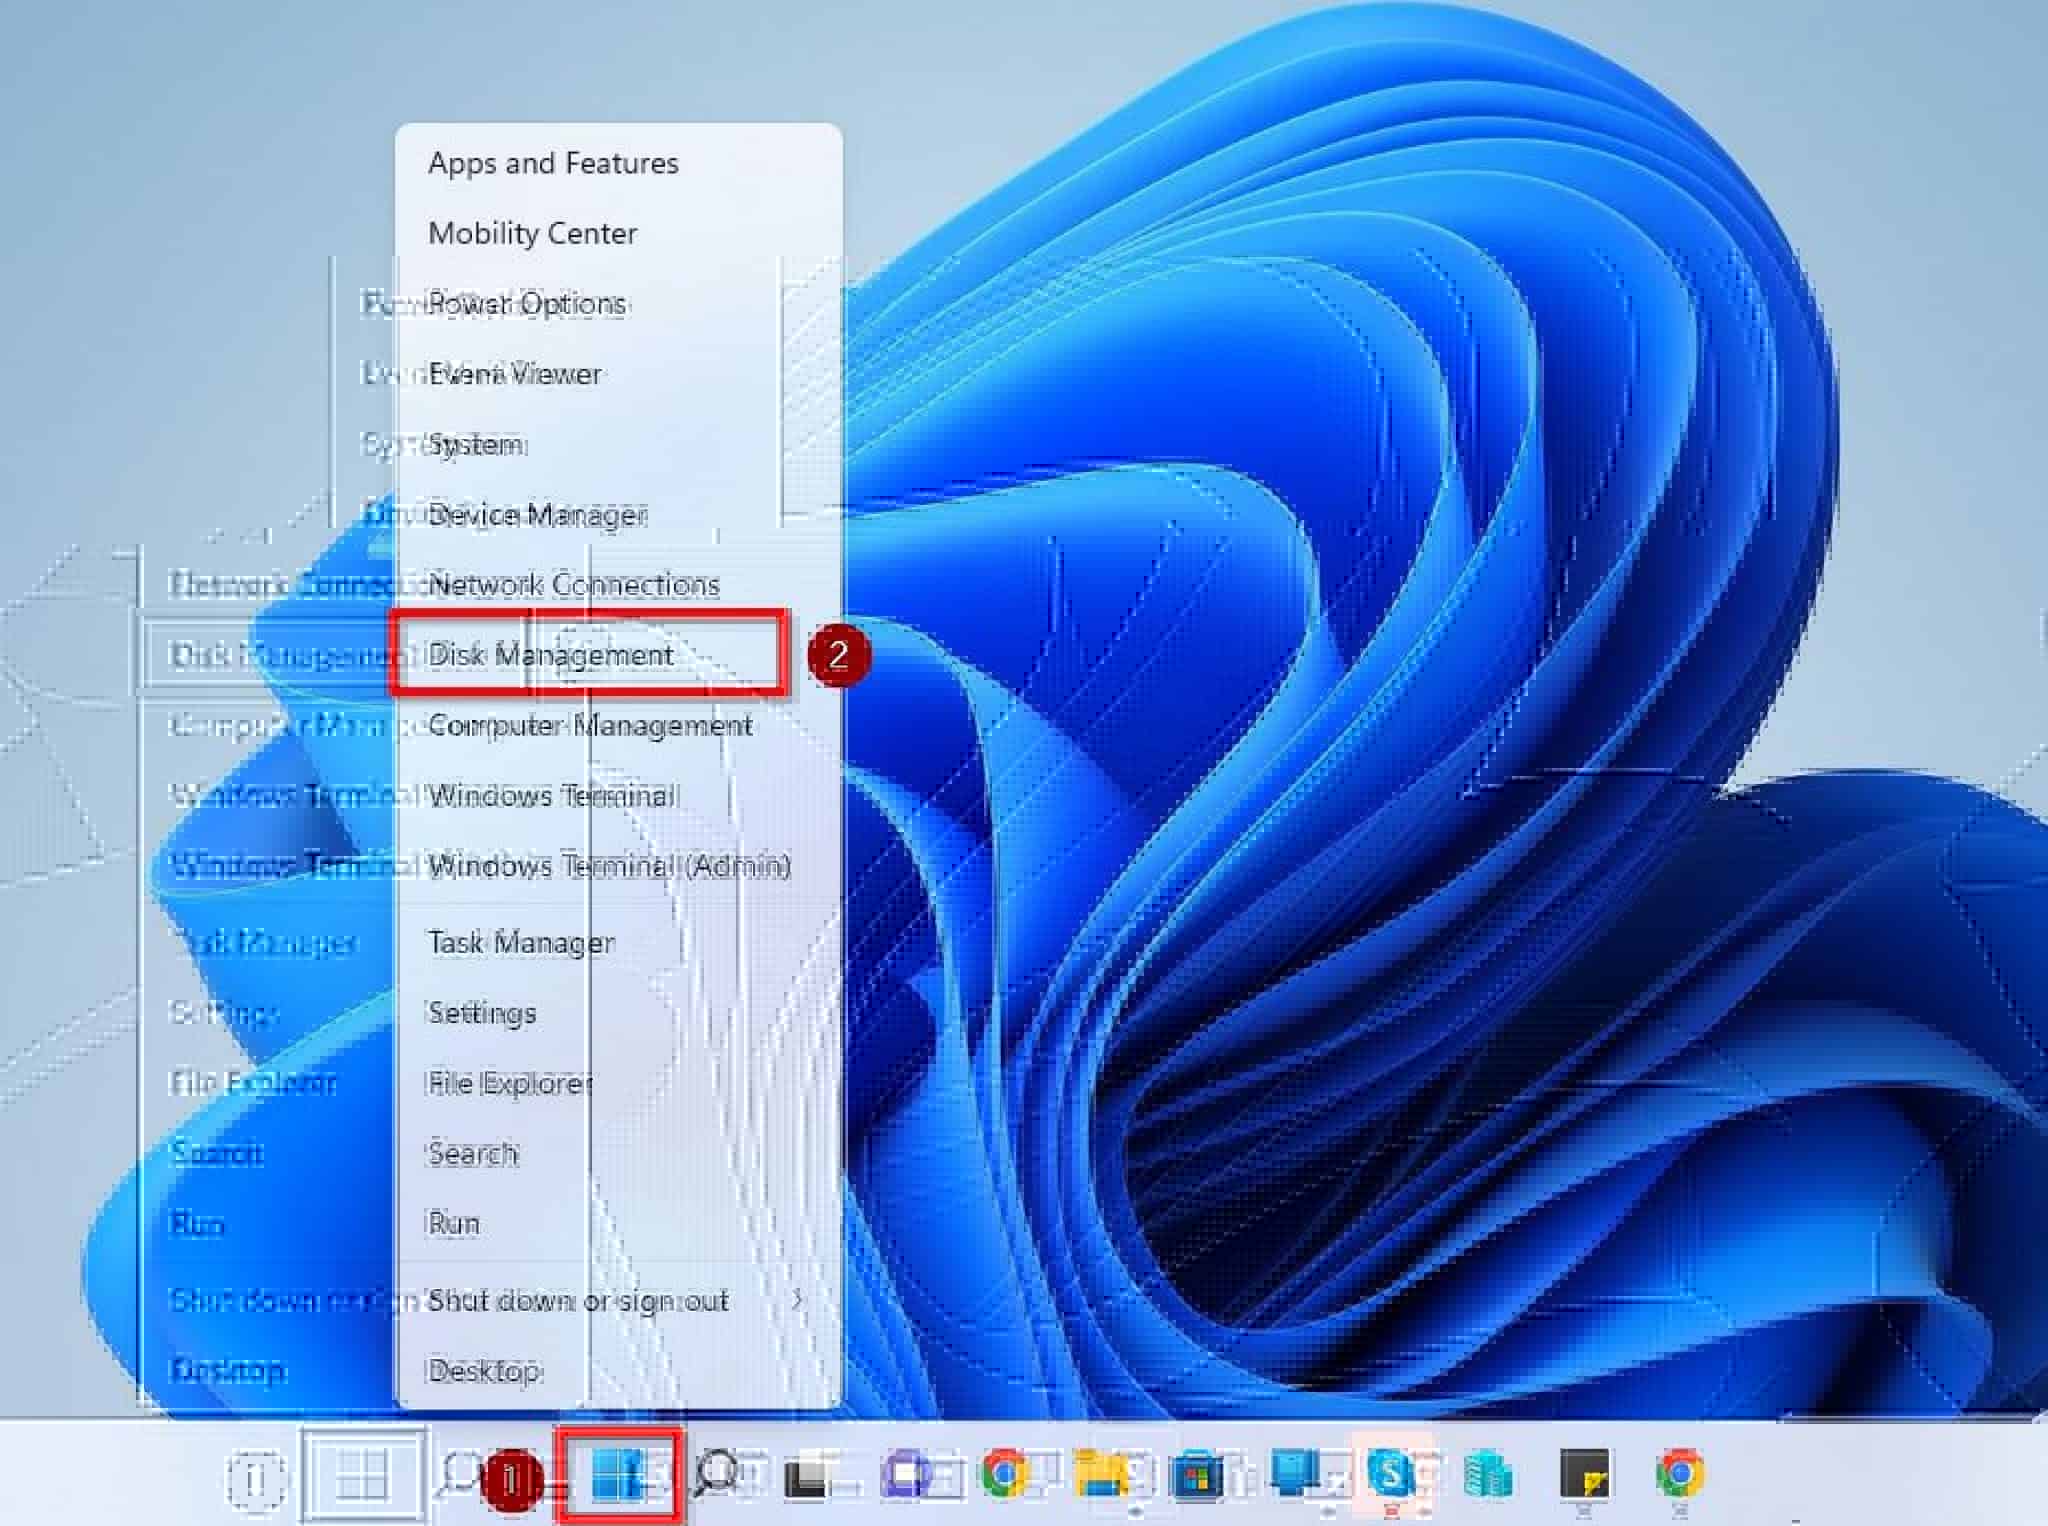
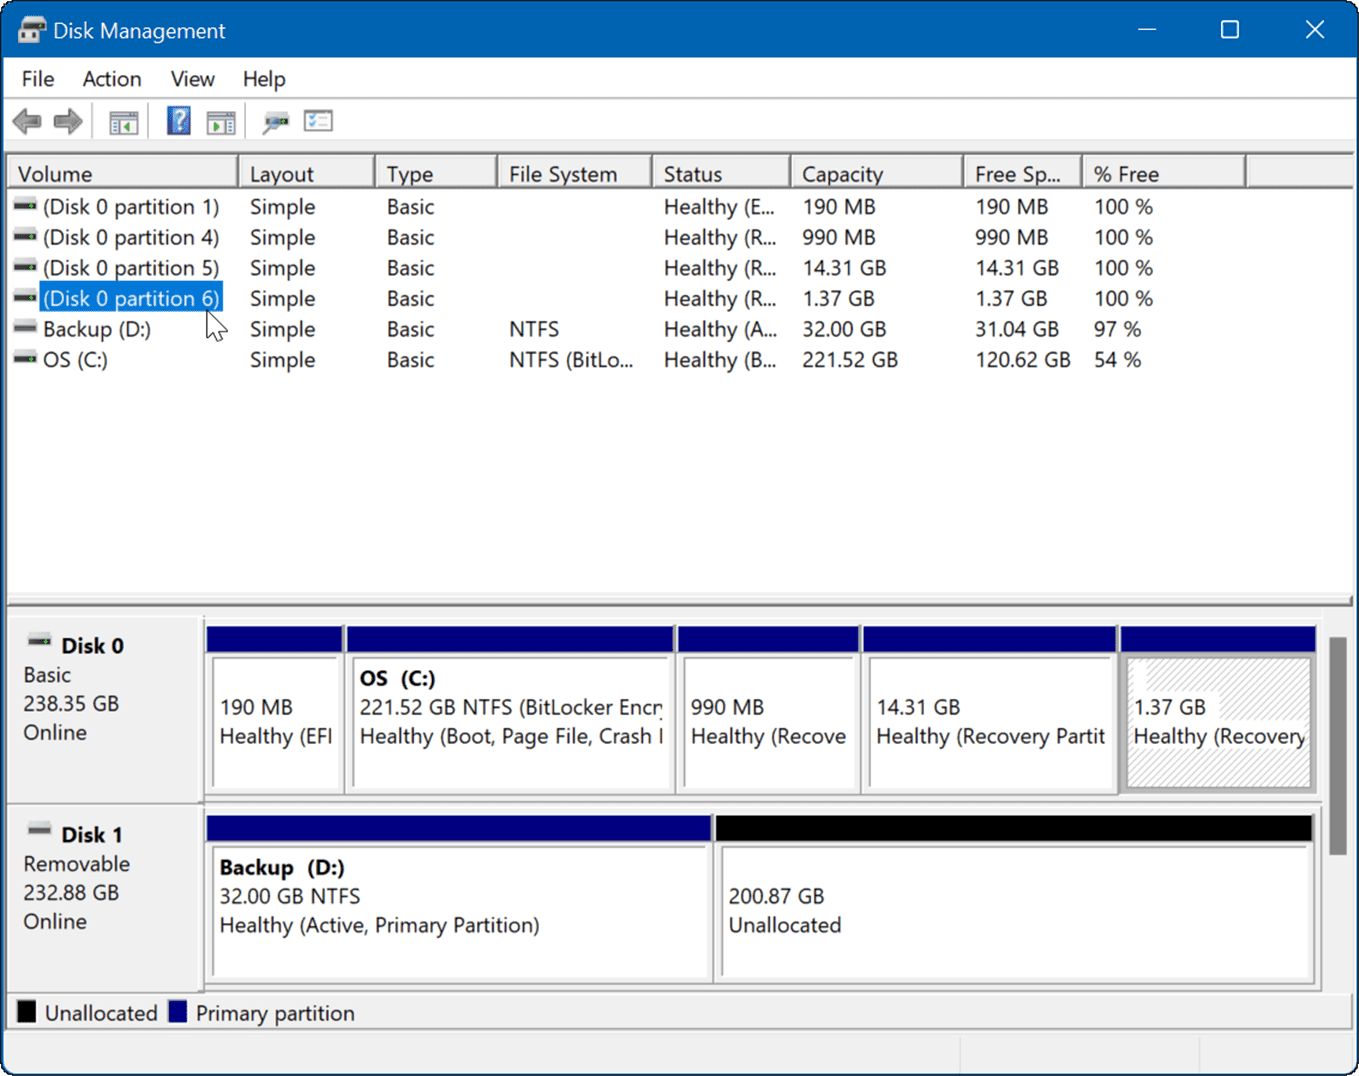
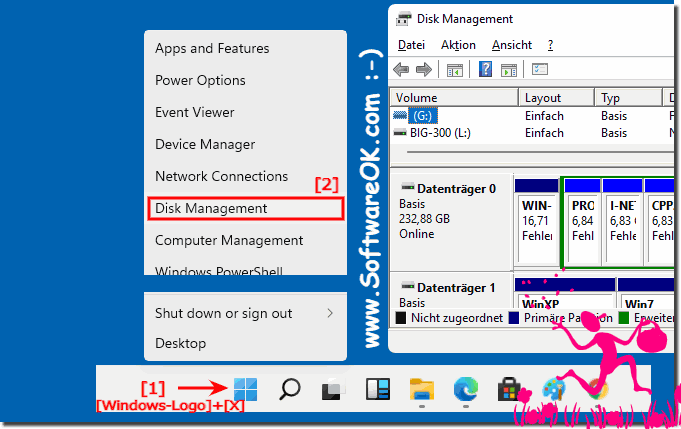
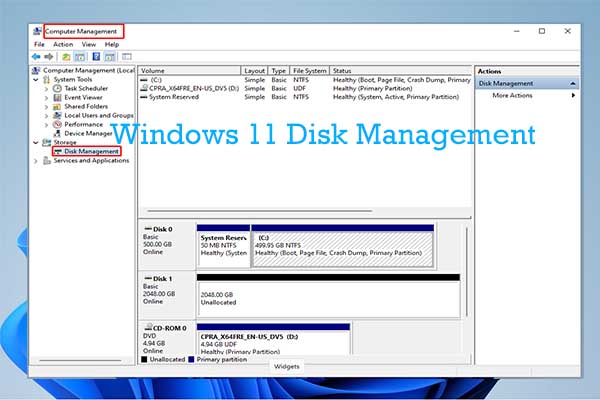
Understanding Disk Management Fundamentals
Before diving into the command prompt’s capabilities, it’s essential to grasp the fundamental concepts of disk management. Windows 11 utilizes a hierarchical file system, with drives organized into partitions. Each partition represents a dedicated storage space, capable of housing different operating systems or data.
Key Commands for Disk Management
The command prompt offers a range of commands dedicated to managing disks and partitions. Here are some of the most commonly used commands:
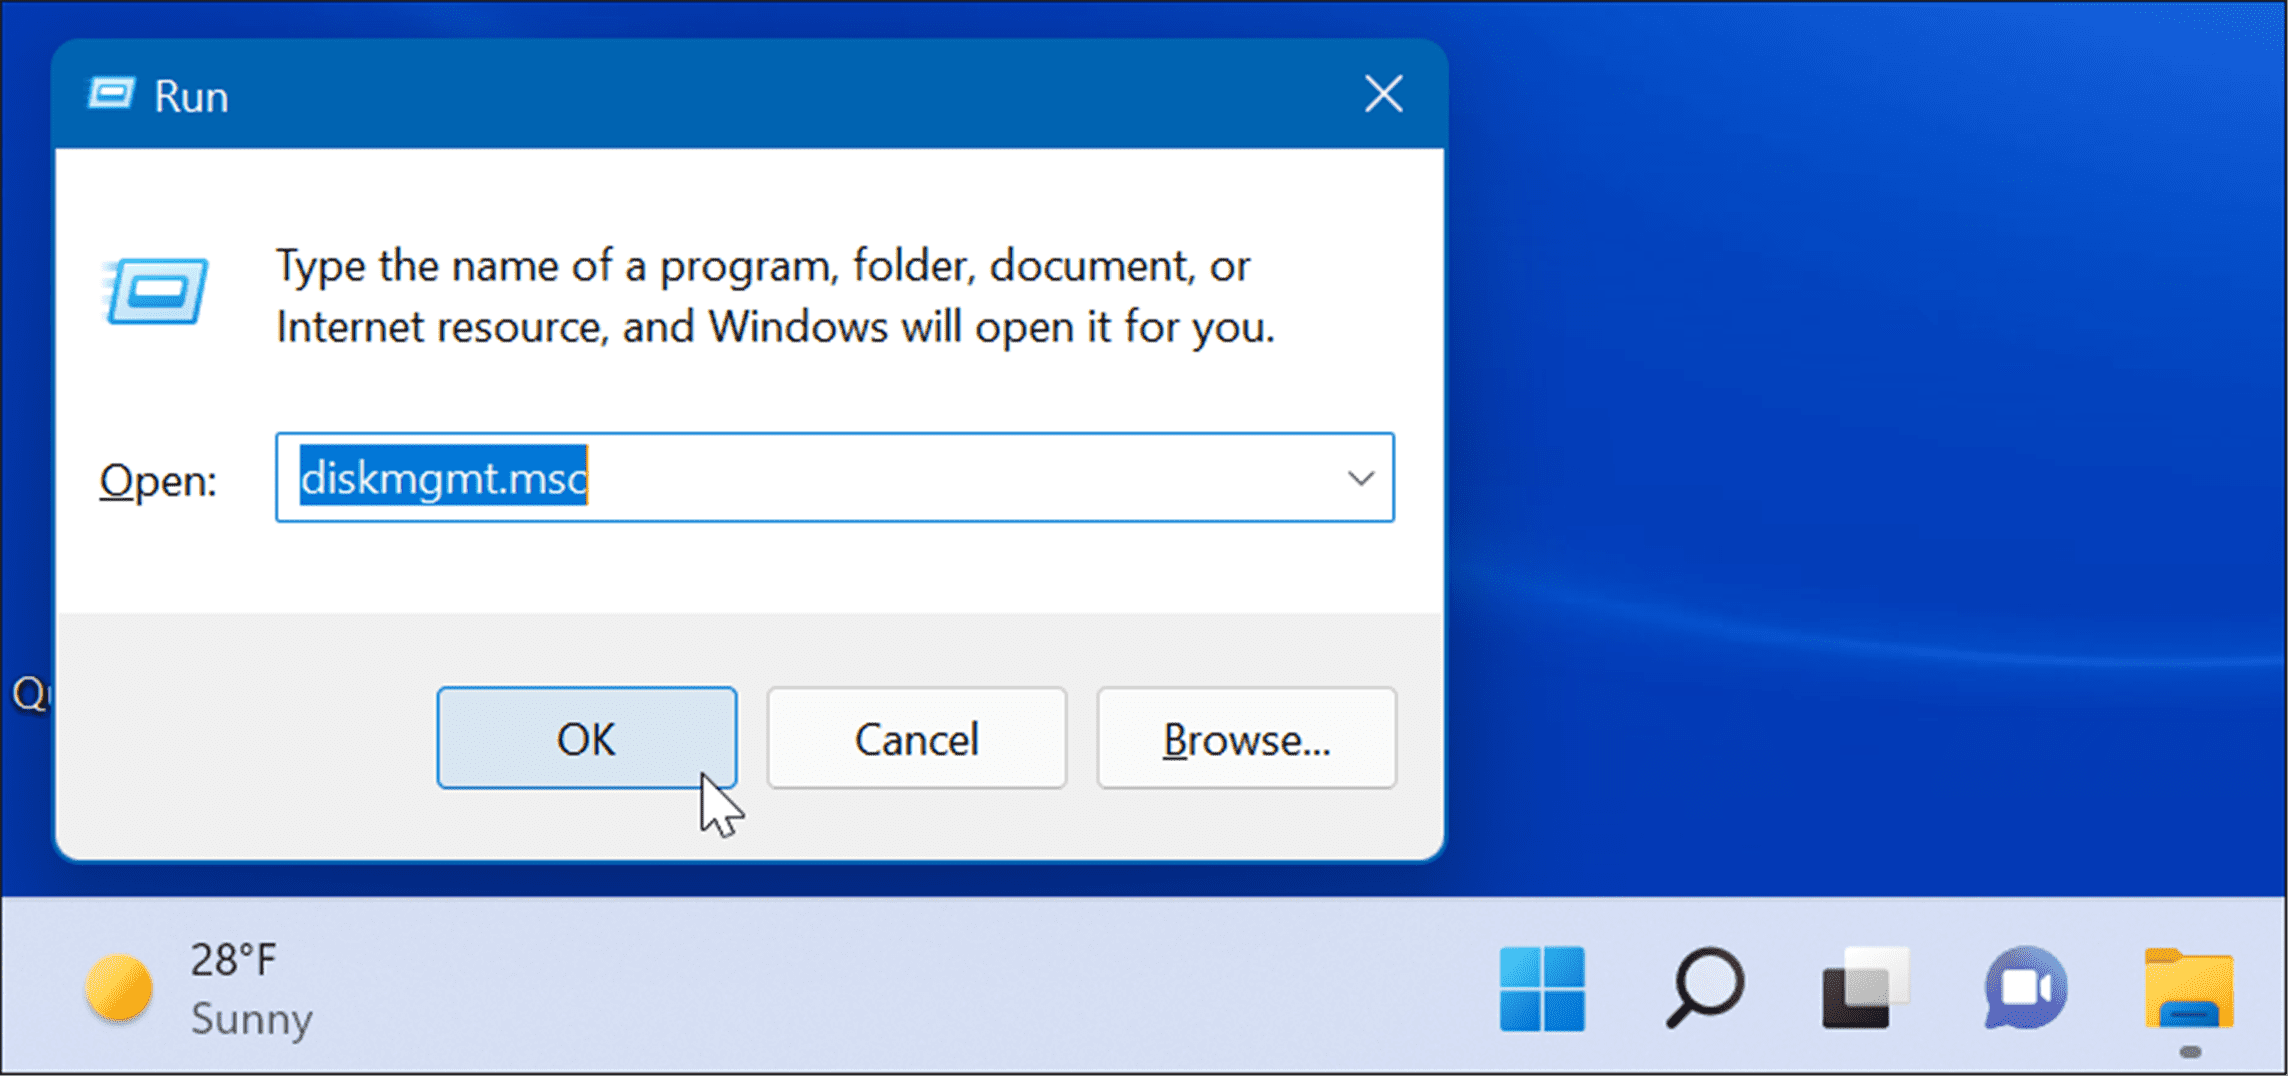
- diskpart: This command launches the diskpart utility, a powerful tool for managing disks and partitions.
- list disk: Displays a list of all available disks connected to the computer.
- select disk #: Selects a specific disk based on its assigned number.
- list partition: Lists all partitions on the selected disk.
- select partition #: Selects a specific partition based on its assigned number.
- create partition primary: Creates a primary partition on the selected disk.
- create partition logical: Creates a logical partition within an extended partition.
- delete partition: Deletes the selected partition.
- format fs=ntfs quick: Formats the selected partition with the NTFS file system, using a quick format.
- assign letter=X: Assigns a drive letter to the selected partition.
- remove letter=X: Removes the assigned drive letter from the selected partition.
- active: Marks the selected partition as active, making it bootable.
- exit: Exits the diskpart utility.
Practical Applications of Disk Management using the Command Prompt
The command prompt’s ability to manage disks and partitions opens up a world of possibilities for optimizing and customizing storage configurations. Here are some practical applications:
- Creating and Formatting Partitions: The command prompt allows for precise control over partition creation. You can define the size, type (primary or logical), and file system (NTFS or FAT32) of each partition. This is particularly useful for creating dedicated partitions for specific purposes, such as storing system files, user data, or installing a separate operating system.
- Deleting and Re-partitioning Disks: The command prompt provides the capability to delete existing partitions, allowing you to re-partition a disk to better suit your needs. This is helpful for reorganizing storage space, removing unused partitions, or preparing a disk for a fresh installation of an operating system.
- Assigning Drive Letters: The command prompt allows you to assign drive letters to partitions, simplifying access and organization. This is useful for managing multiple drives or partitions, especially when dealing with external storage devices.
- Converting File Systems: While the graphical Disk Management tool offers limited file system conversion options, the command prompt allows you to convert partitions between NTFS and FAT32 file systems. This is useful for compatibility with older operating systems or devices that require a specific file system.
- Managing Bootable Partitions: The command prompt lets you mark a partition as active, making it the bootable partition for the system. This is crucial when installing a new operating system or recovering from system failures.
Benefits of Using the Command Prompt for Disk Management
- Precision and Control: The command prompt offers a higher degree of control over disk management tasks, allowing for precise customization and configuration.
- Automation: The command prompt enables the creation of batch scripts, automating repetitive tasks like partitioning, formatting, and assigning drive letters. This saves time and effort, especially for system administrators managing multiple computers.
- Troubleshooting: The command prompt is invaluable for troubleshooting disk-related issues. It allows for detailed examination of disk properties, partition information, and potential errors, aiding in identifying and resolving problems.
- Advanced Features: The command prompt offers advanced features, such as managing disk quotas, creating and managing dynamic volumes, and working with RAID configurations.
Frequently Asked Questions
Q: What are the risks associated with using the command prompt for disk management?
A: Incorrect commands can lead to data loss or system instability. It’s crucial to understand the commands and their implications before executing them. It’s also advisable to back up important data before making any significant changes.
Q: How can I undo changes made using the command prompt?
A: Depending on the specific changes made, there might be options to revert them. For example, deleting a partition can be reversed by creating a new partition in its place. However, some actions, such as formatting a partition, are irreversible.
Q: Is it necessary to use the command prompt for disk management?
A: While the graphical Disk Management tool is sufficient for most users, the command prompt offers a more powerful and flexible approach, particularly for system administrators and power users.
Tips for Using the Command Prompt for Disk Management
-
Start with the
diskpartcommand: This launches the diskpart utility, providing a dedicated environment for disk management. -
Use the
listcommands: Before making any changes, uselist diskandlist partitionto get a clear overview of your disks and partitions. -
Be cautious with destructive commands: Commands like
delete partitionandformatare irreversible. Double-check the selected disk and partition before executing these commands. - Test on a non-critical disk: If you’re unfamiliar with a specific command, test it on a non-critical disk or partition first to avoid potential data loss.
- Consult online resources: Numerous online resources provide detailed documentation and tutorials on disk management using the command prompt.
Conclusion
The command prompt offers a powerful and versatile tool for managing disks and partitions in Windows 11. While the graphical Disk Management interface provides a user-friendly approach, the command prompt offers a deeper level of control, automation, and troubleshooting capabilities. By mastering the essential commands and understanding the underlying concepts, users can unlock a world of possibilities for optimizing their storage configurations and customizing their computer’s storage management.


Closure
Thus, we hope this article has provided valuable insights into Mastering Disk Management in Windows 11: A Comprehensive Guide to the Command Prompt. We hope you find this article informative and beneficial. See you in our next article!